 Epicast
Gobsmasha 1.0
 Epicast
Gobsmasha 1.0
- UPDATED 27 JUNE 2004 - I payed way too much for this model on eBay, but wanted an original for my collection. There's a certain Goth I know who has good instructions on making your own, I would definitely recommend it!
I've had it sitting around for a month or two, and now that the weather is nice, I decided to start cutting outside.
If you have time, check out the rest of the site too - including the ork army list, and the other conversions.
so 'ere we go!
 |
Here are all the bitz. |
 |
The casting job is extremely poor. Take a look at the right front gun. The plasma gun is salvageable, but this one is an abortion. |
 |
So I removed it. You can see how the clean up process on the plasma gun is already helping. |
 |
Same thing on the rear end. These exhausts are awful. |
 |
So I drilled them out on the drill press. |
 |
I mounted the wheels and kannon. |
 |
Sort of a dumb lookin' rig, actually. But than again, it screams ork! Rumor has it the other gun on the front was a plasma as well, so the current plan is to replace the missing weapon with a plasma gun from a demolisher sponsoon - and that's the rule set we'll use for it - a looted demolisher. |
 |
I remembered that we need a place for the hull mounted weapon. This hatch from an Imperial Armor accessory sprue does nicely.. |
 |
For
the soon to be pintal mounted lascannon! |
 |
I
actually found my missing plasma cannons from a real demolisher kit, and
in preperation drilled a hole for pinning on this plate. |
 |
It
took a lot of cutting down with the dremel to get the plasma cannon in
- and now it looks better than the original. I toyed with the idea of
replaceing the other one, but I think I want a more hap-hazard look -
like one blew up, and was replaced with a newer version. |
 |
Here's
our crew member |
 |
The
lascannon in place. It still needs hand grips |
 |
Hard
to see in this picture are the new exhaust pipes (automotive vacuum
line) and the radio antennea |
 |
You
know, I'm starting to take shine to this model... |
 |
here's
the pintal mounted lascannon finished, complete with wiring. |
 |
Close
up view |
 |
Rear
shot. Now you can see the exhausts and the antenna. |
 |
And
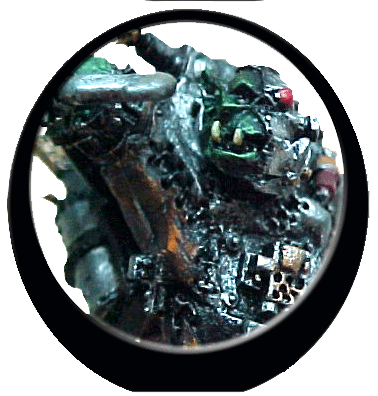
a close up of the boy - that's the energy pack from the IG sprue on his
back. |
 |
It
was mentioned that the wheels were too plain - so instead of adding rivits,
I decided to remove material like on the Forgeworld
Fighta-Bomma |
 |
Here's
the business end, primed. |
 |
And
the butt side. |
 |
Primary
Color Coat, right side |
 |
Primary
Color Coat, left side |
 |
Some
secondary colors have now been added, and a few details picked out on
the model. Also a black/water wash was applied. |
 |
And
the other side. It still needs a good solid drybrushing, and a few more
painting highlights. |
 |
Detailing,
inking and drybrushing done. |
 |
|