
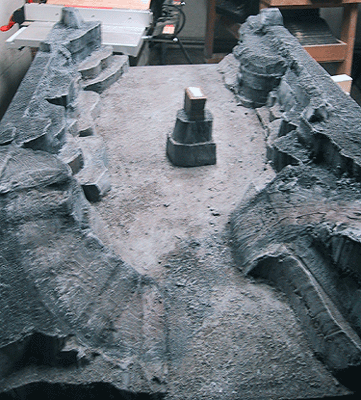
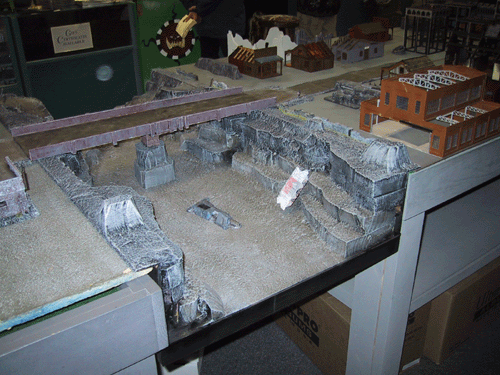
I wanted a different way to join two tables; my thought was instead of going up, to go down. This will be a huge ravine with a bridge.
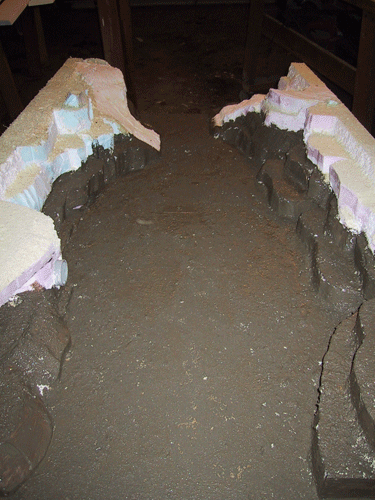
Here's a rough idea.
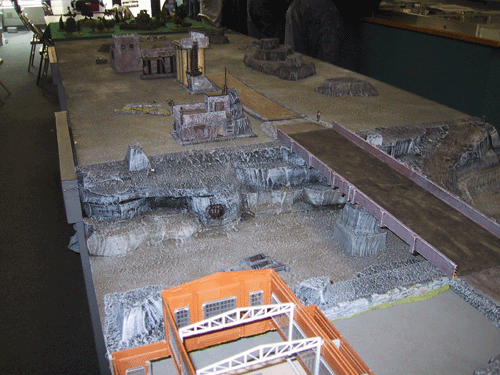
And here's how it looked in place
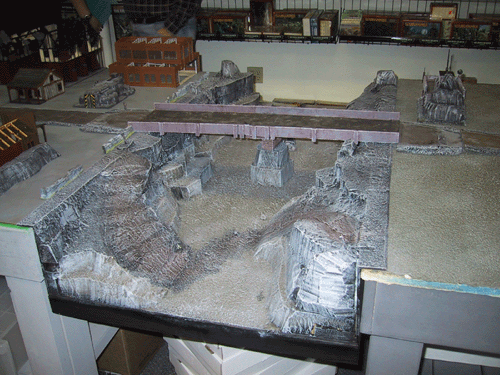
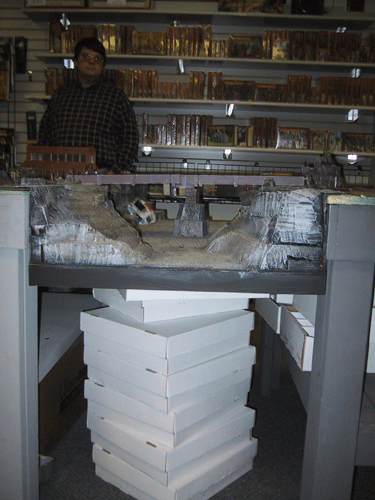
Completed 5/22/05
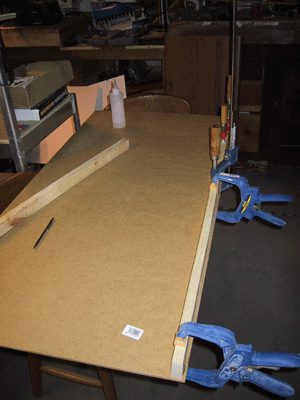 |
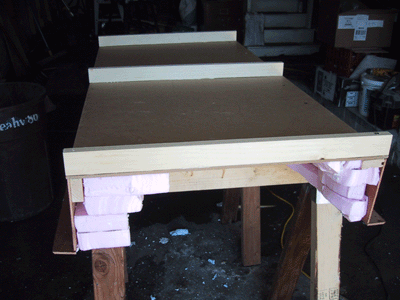
Beginning
construction, the side support rails were glued to the bottom MDF board. |
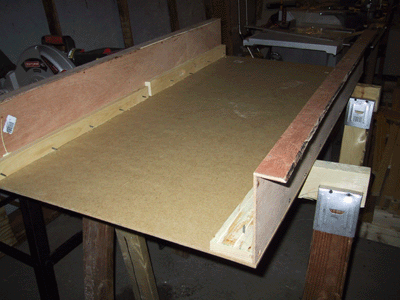 |
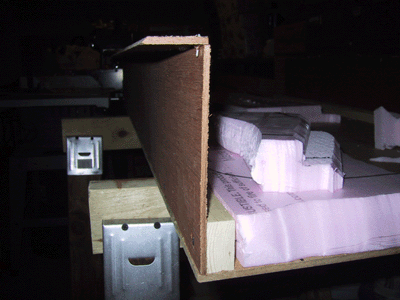
And than the
sides were added. They were also glued, and than screwed into the side
support rails. |
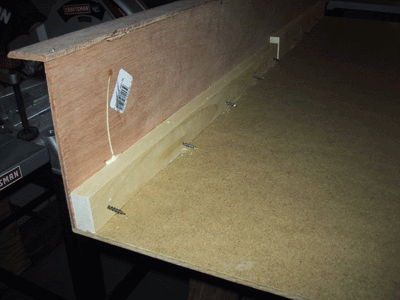 |
The exposed screws are not a problem as after the glue sets, we'll begin on the pink insulation that will disguise this 100%. |
 |
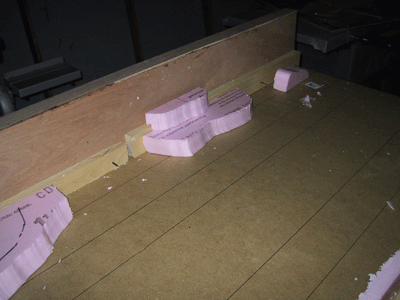
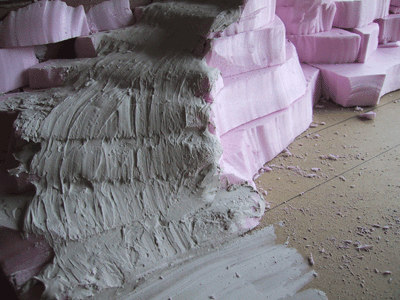
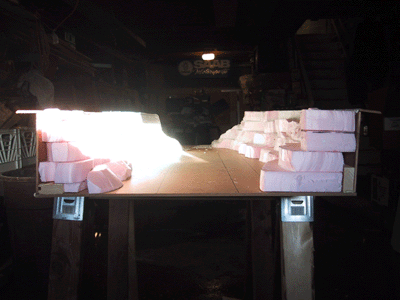
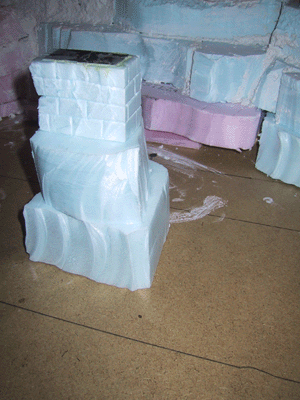
Insulation foam was built up along the sides. |
 |
|
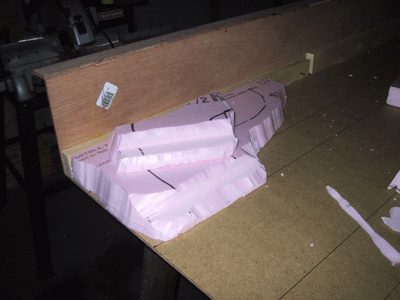 |
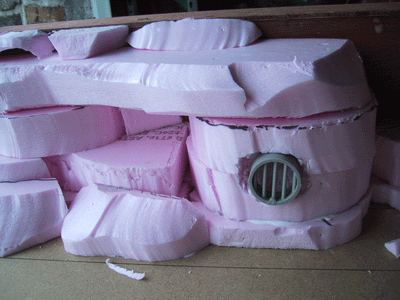
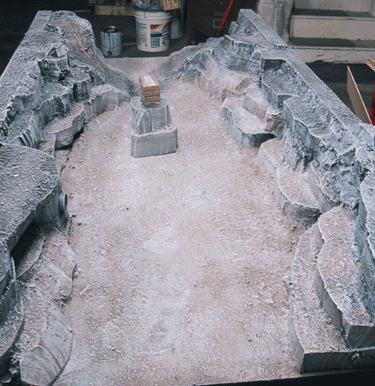
This stepped area will be the lower road section |
 |
I had this nice piece of drain...perfect! |
 |
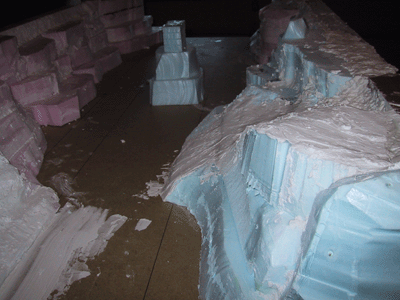
Here's a profile shot of the structure. |
 |
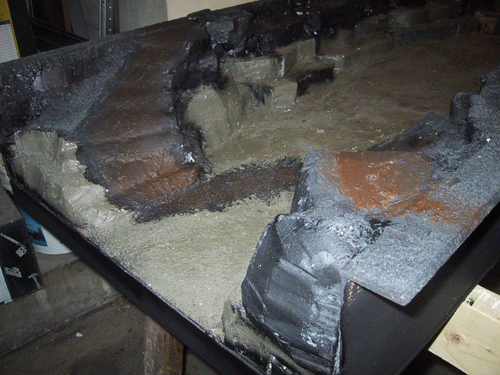
Addin Insulation foam. |
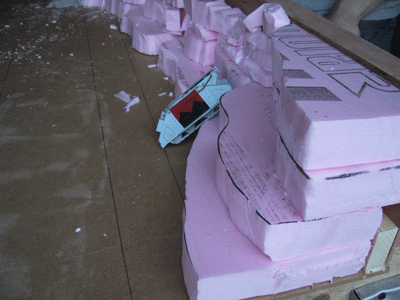 |
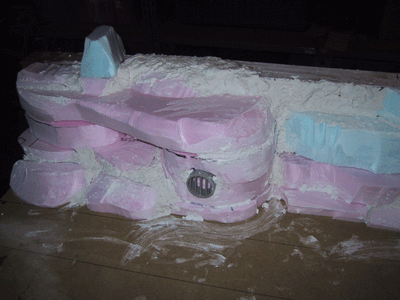
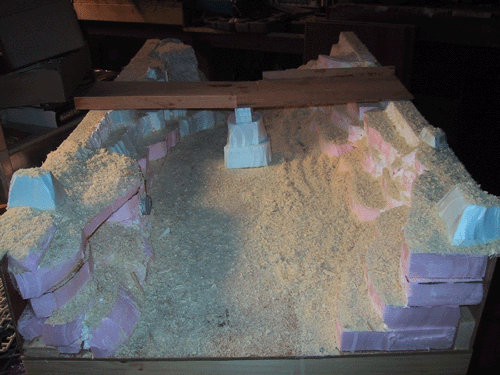
II'm planning on having this (removable) wreck in th ditch. |
 |
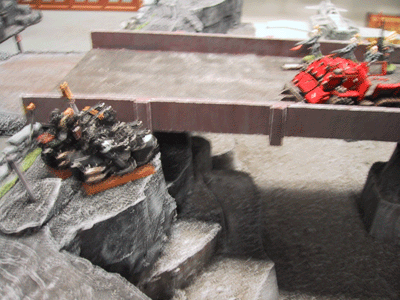
The squig cave! |
 |
|
 |
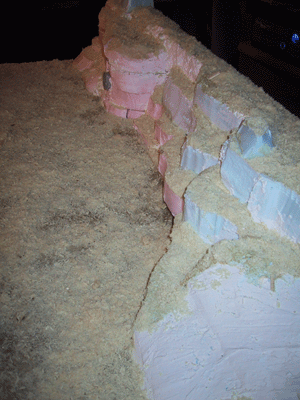
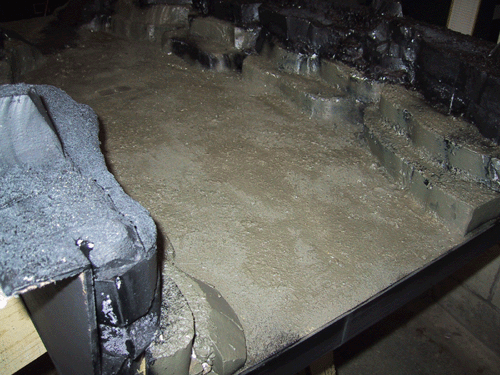
One the base was down, drywall mud was added for the road texture. |
 |
|
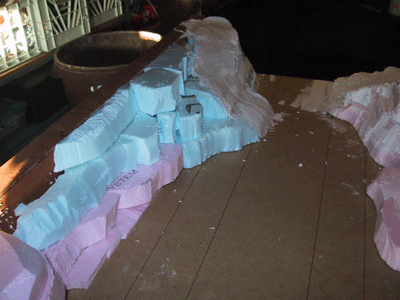 |
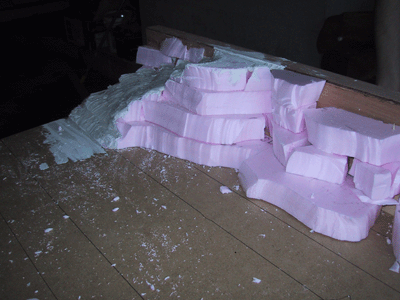
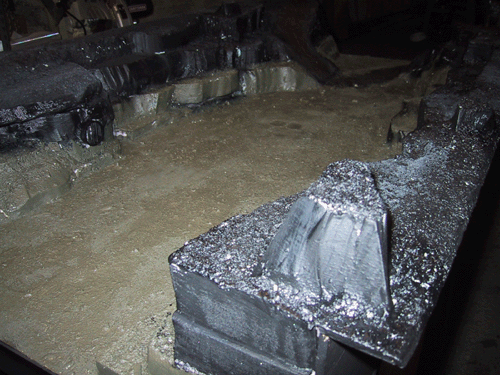
I ran out of the pink stuff, so luckily my friend Steve had some nice thick blue foam! |
 |
There were concerns about the top lip, so I added metal "L" brackets, two to each side. I had to shave down the screw tips on the bottom so it will lie as flat as possible. |
 |
It's hard to see but there is a slight warp to the bottom. |
 |
so to correct that I added three 1x2 pieces of wood. voila! |
 |
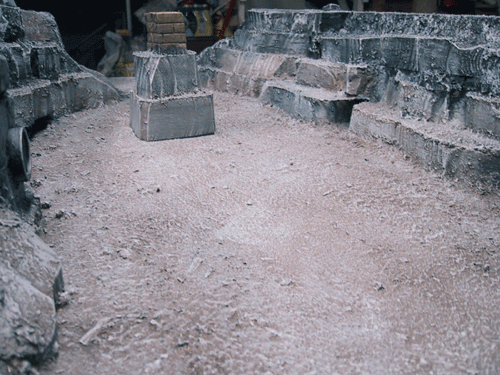
Once the foam was down, I went back over it with plaster of paris to fill in the gaps and any exposed board. |
 |
|
 |
I wanted the center bridge support removable, so two large magnets were glued to the bottom of the support itself. The metal plates, in turn, were glued to the bottom board. |
 |
Here it is with the support in place. |
 |
|
 |
Sawdust! the old routine - glue water, sawdust, glue water, sawdust, glue water. |
 |
Roughing out a bridge design. |
 |
With the sawdust dried, basecoats. The bottom half got a dark brown basecoat. |
 |
|
 |
And the top half black. I wanted it to look like it really was cut into the ground. The road section got a different brown as well. |
 |
|
 |
|
 |
With two successively lighter coats of gray overbrushing. |
 |
I'm happy with the difference in color, and the blending effect. |
 |
|
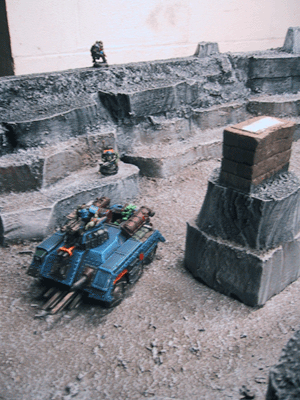 |
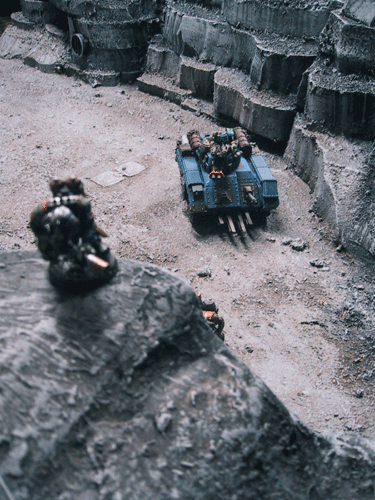
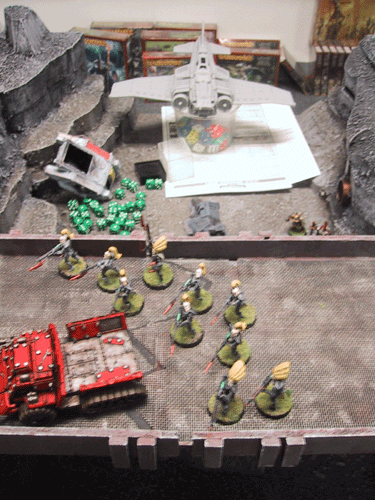
For scale, here's da 'ellhound and some boyz |
 |
|
 |
It's a steep road (counts as difficult) |
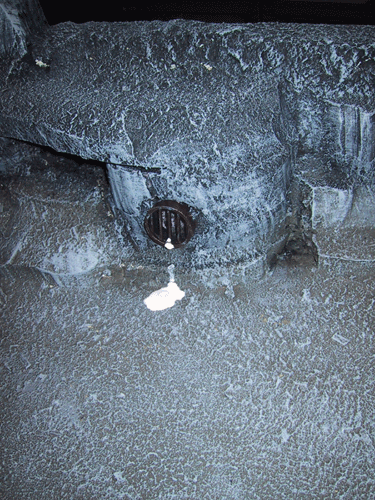 |
Tin bitz base coat on the drain, and I added some pva for a drippy fluid "base" |
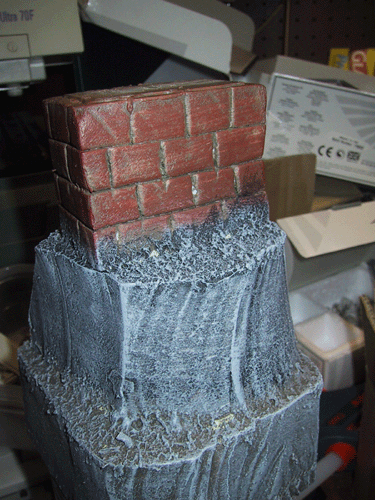 |
A drybrush of terracotta over the set stone of the bridge support. |
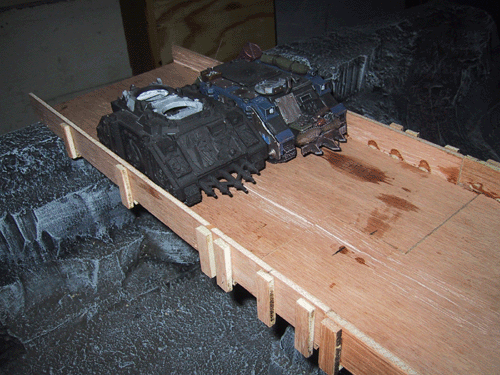 |
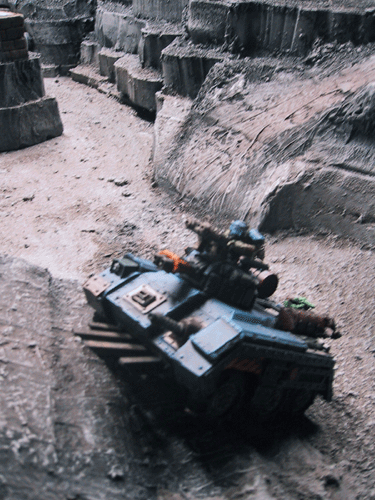
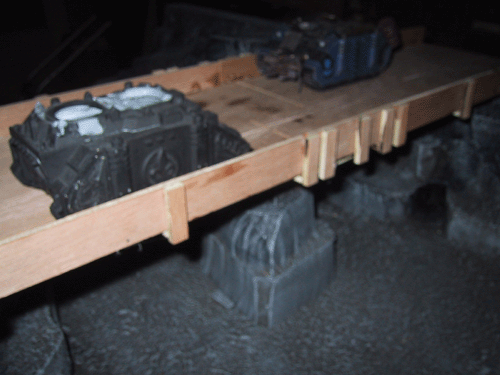
The basic bridge in in place. Big enough for two rhino's to pass! I made it out of 1/4 inch plywood for durability. |
 |
|
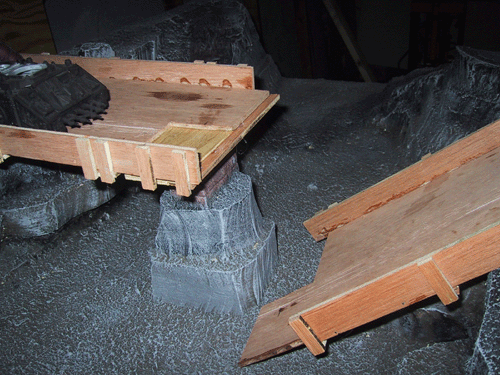 |
It is destroyable, and here you can see how it comes apart. The bridge is fixed to the support on with magnets. |
 |
|
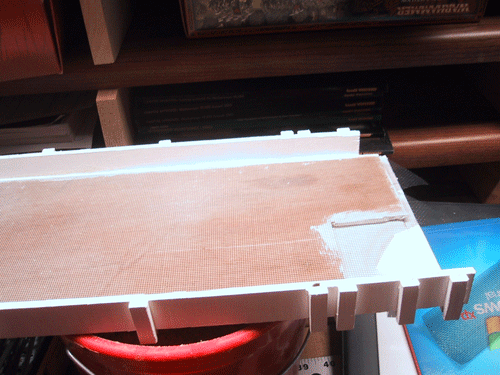 |
I hit the sides of the bridge with straight gesso, to provide some texture. Than a layer of mesh went down over the top of the road surface. |
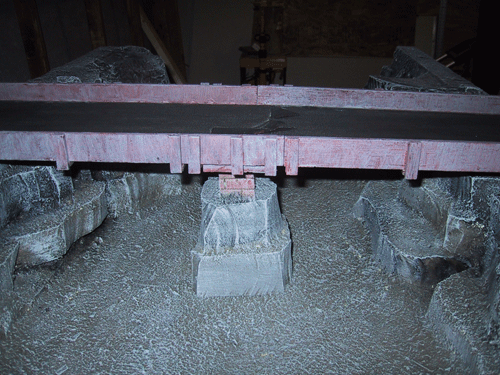 |
Painted in place. |
 |
Painted in place. |
 |
On the bottom, a single small rare earth magnet helps hold the bridge to the pier. |
 |
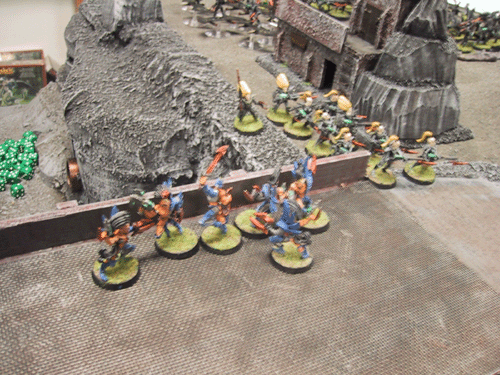
And in action! Here it is during the mega battle at Triple Play Games in May, 2005 |
 |
|
 |
Just for insurance, these empty boxes were put in place under neath it. |
|
|
 |
|
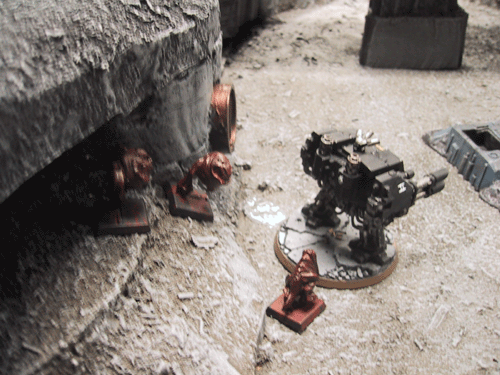 |
Unpainted squigs from the squig cave attacked and destroyed this dreadnought. |
 |
|
 |
return to Scarpia's Warhammer 40K
'ere is dem nasty legal bits:
This website is completely
unofficial and is in no way endorsed by Games
Workshop Limited.
Dark Angels, Eldar, Games Workshop, Warhammer, Adepta Sororitas, Adeptus Astartes,
Cadian, Catachan, Citadel, the Citadel logo, Codex, Dark Eldar, 'Eavy Metal,
Falcon, Fire Prism, the Games Workshop logo, Games Workshop, Genestealer, Slottabase,
Immolator, Leman Russ, Mordian, Necron, Ork, Predator, Raider, Ravager, Space
Marine, Tyranid, Ultramarines, and a bunch of other words, are trademarks of
Games Workshop Limited. Used without permission. No challenge to their status
is intended.
©2004. This site is the sole work of Scarpia (Thomas Garbelotti) unless otherwise noted. All content not created by Scarpia is copyrighted by the respective copyright holders.