Part II: The Game Surface: Sawdust versus Sand.
Having a bunch of left over material from another project, and a number of local players around the area, I decided it was time to assemble a decent game table. I had a few specific criteria I wanted to try and meet though.
Storability. The table needed to be able to be broken down
Stability. The table needed to be pretty solid.
Flexibility. The game surface needed to be flexible, in order to avoid boredom.
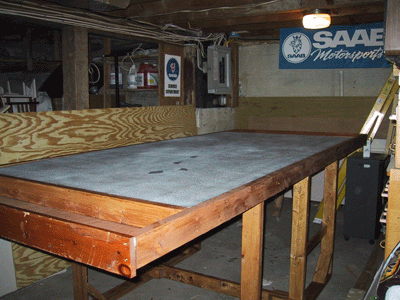
This page is broken into two Parts; the first dealing with the table construction, and the second the gaming surface. Note that this table is purposlly taller than a normal game table. This was for a couple of reasons, I wanted it higher for visual effect, and ease on my back!
UPDATED 11/02/04
| Part I: The table | |
|
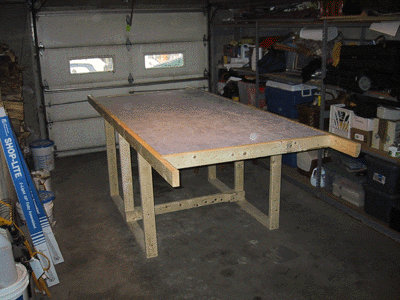
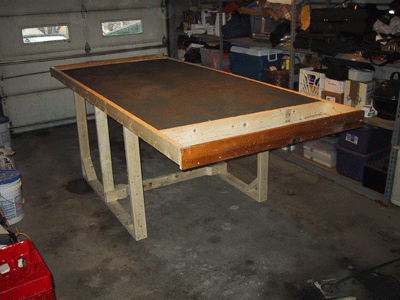
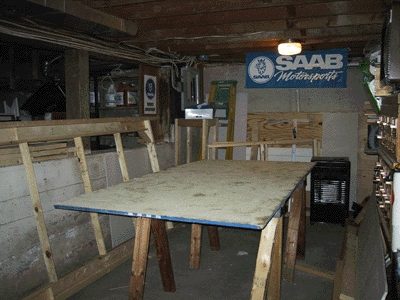
After the first afternoon of cutting, here's what I ended up with. |
|
This piece, what I call the dwarven cross piece, was designed to keep the legs properly spaced apart. This will be replaced by a shelf that will not only do the same thing, but provide case storage during game play. |
|
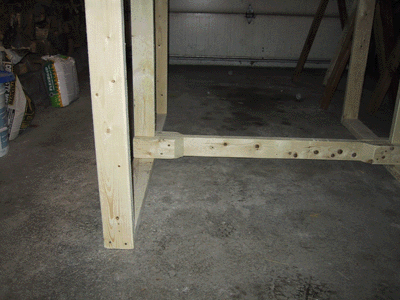
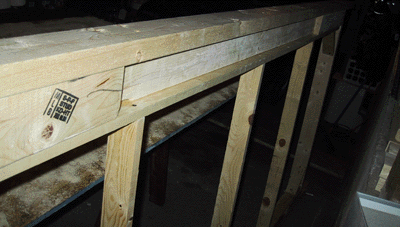
An undershot of the game surface supports. 1x3's run across the width on two foot intervals. The legs fit into a socket created by the outside edge 2x4, and another 1x3 on the inside. This socket removes alot of side to side motion. |
|
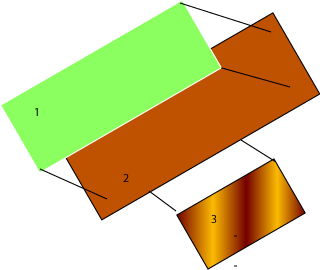
A bad diagram. #1 is the plywood based game surface, #2 the wood support, and #3 a leg unit. This is how the table comes apart for storage |
|
Here's the top in it's broken down storage mode. |
|
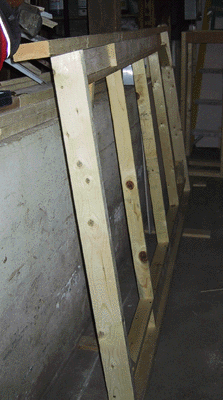
And the two leg sections |
|
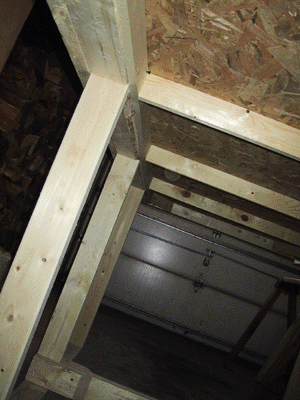
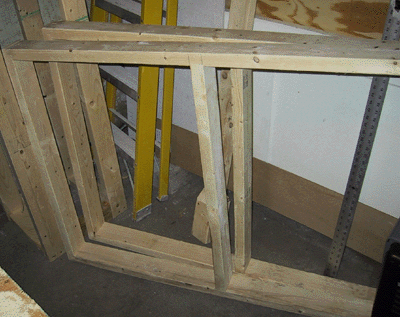
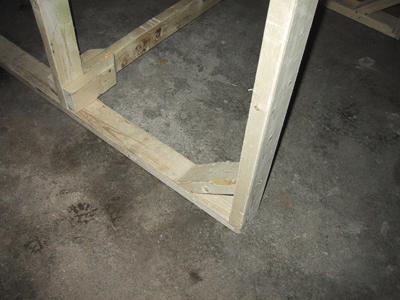
This is a better shot of the leg "socket". You can see how the top of the leg unit fits in this place. |
|
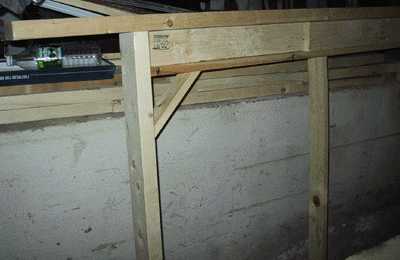
Note the small angles; they help to provide corner support for the game surface. |
|
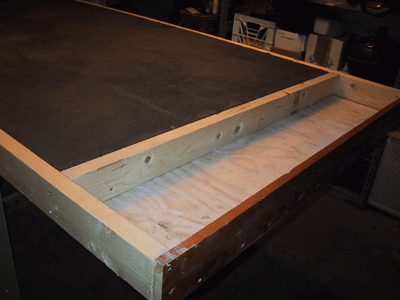
I used two full 10' 2x4's for the side railes; the extra length was capped off with 1x4's and lined with plywood. |
|
These pockets should be good for storing mini's during game play and rolling dice. |
|
A couple of extra leg angles were added to reduce fore and aft sway. |
Part II: The Game Surface: Sawdust versus Sand. |
|
|
I got the chance to play against Nightserpent in his home; his table used a sawdust construction techinque. Well being me, I failed to read his instructions first, and charged ahead regardless. |
|
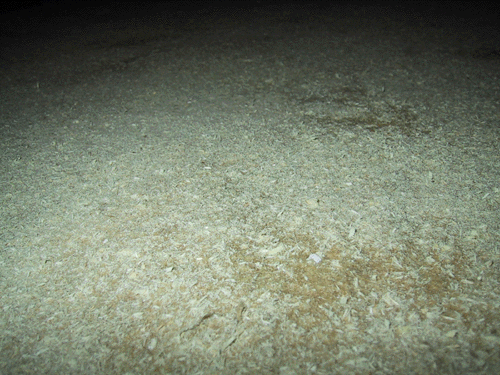
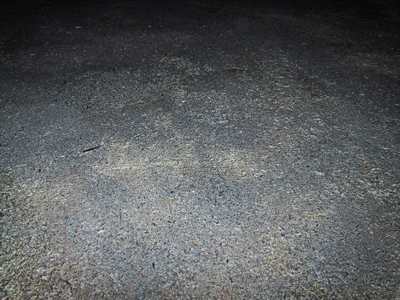
Carpenter's glue and water was brushed across the surface; than sawdust sprinkled on. |
|
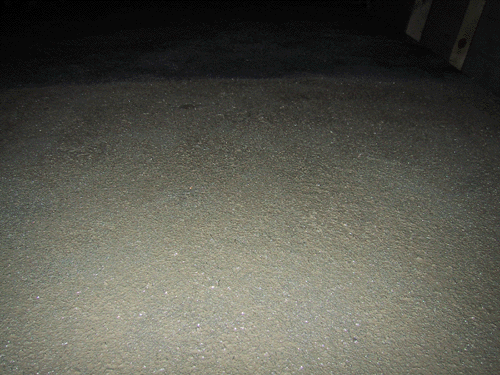
A close up of the texture. |
|
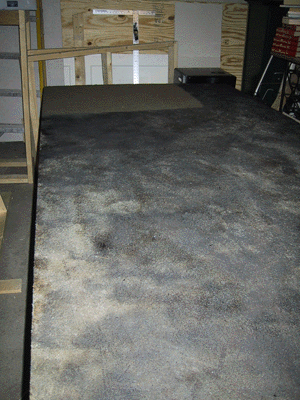
After it was dry, I hit it with a can of cheapo black spray paint. |
|
Which did not cover very well. As that can burned up, and I had no more, ca la vie - on to the brown! |
|
Brown (ugly) house paint was brushed on. I used a mistint can from a local store. |
|
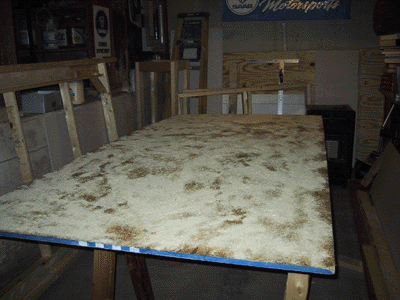
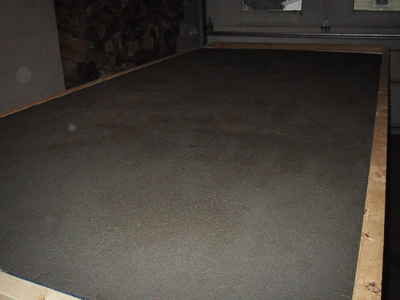
Here's the top before drybrushing. |
|
After the brown dried, I drybrushed codex gray and fortress gray. After that was dry, a final light coat of skull white helped. |
|
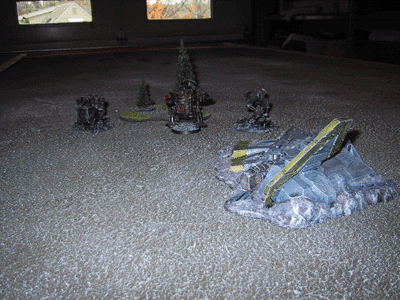
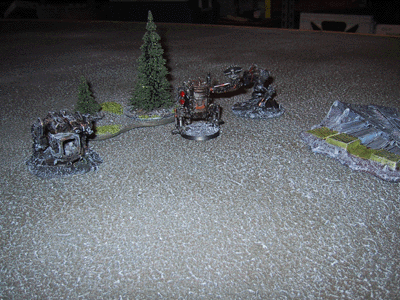
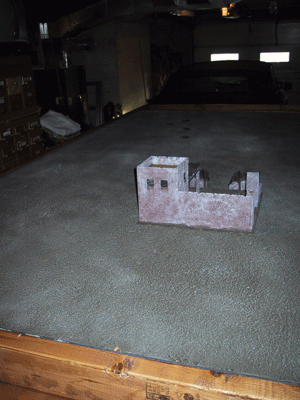
Here's the ash waste surface with some scenery and models. I like the way it came out, I need to add some oil puddles and that kind of thing. |
|
The table frame has been hit with a coat of Minwax. |
|
And for fun, just trying out the Mekshop for size! |
return to Scarpia's Warhammer 40K
'ere is dem nasty legal bits:
This website is completely
unofficial and is in no way endorsed by Games
Workshop Limited.
Dark Angels, Eldar, Games Workshop, Warhammer, Adepta Sororitas, Adeptus Astartes,
Cadian, Catachan, Citadel, the Citadel logo, Codex, Dark Eldar, 'Eavy Metal,
Falcon, Fire Prism, the Games Workshop logo, Games Workshop, Genestealer, Slottabase,
Immolator, Leman Russ, Mordian, Necron, Ork, Predator, Raider, Ravager, Space
Marine, Tyranid, Ultramarines, and a bunch of other words, are trademarks of
Games Workshop Limited. Used without permission. No challenge to their status
is intended.
©2004. This site is the sole work of Scarpia (Thomas Garbelotti) unless otherwise noted. All content not created by Scarpia is copyrighted by the respective copyright holders.