Brought to you by Ho' and Garbo TV (HGTV)
Phase III.3 Construction Continued!
The BAB (Big Ass Beam) is up.!
Brought to you by Ho' and Garbo TV (HGTV)
Phase III.3 Construction Continued!
The BAB (Big Ass Beam) is up.!
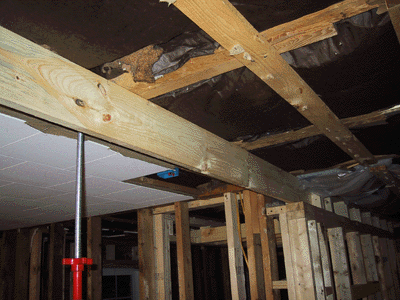 |
If you are a regular reader, you may remember the Big Ass Beam that we wanted to string along this span. Well, we finally did it - here a 14 foot 1x6 is used as a templete for the BAB itself. (25 September 2003) |
|
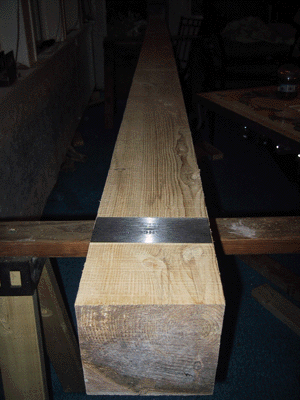
Here's the BAB. This is a hemlock, true 6" beam, as the 6" scraper blade testifies. It is still very wet, as it was only cut about a month and a half ago. (25 September 2003) |
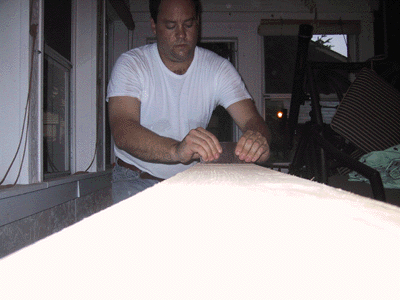 |
With said scraper blade, we spent about an hour or so removing saw fuzz on all four sides. We want a semi-rough finish, so we'll hit it with some sandpaper and stain when it finally dries up next spring. (25 September 2003) |
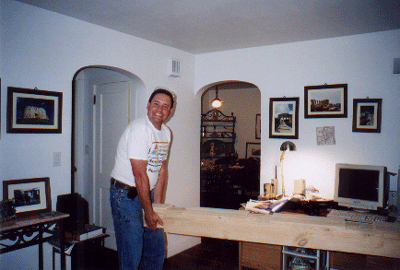 |
Jim lugged one end of the beam (5 January 2004) |
 |
and I had the other. Like everything, this too got hauled up through the living room to the upstairs. (5 January 2004) |
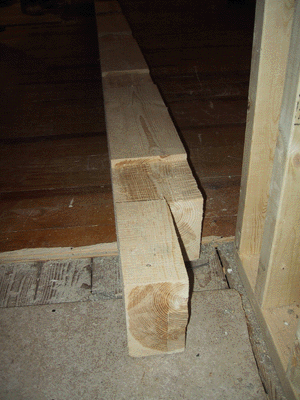 |
The template board gave us pretty exact measurements on the cuts we needed to make, here is the end that sits on top of the bathroom wall. |
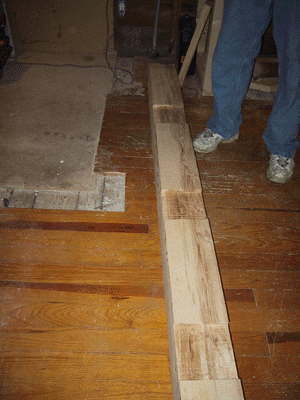 |
Here's a good shot of the 5/8" deep notches we cut and chiseled for the rafters. (25 September 2003) |
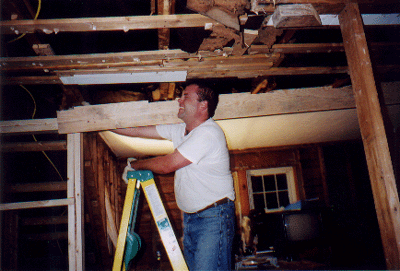 |
This was not an easy task by any means. Sometimes, though, you have to bull it through. (5 January 2004) |
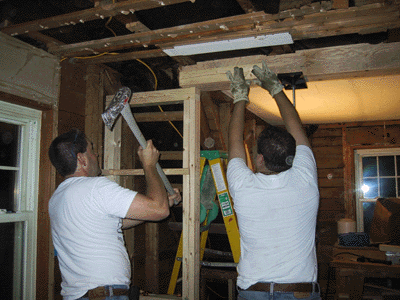 |
After first setting it on top of a ladder and an old piece of built-in shelving, we got it up into a rough spot, and eased it into place. Here Jim "encourages" the BAB on the far wall while I hold it from bouncing back. (25 September 2003) |
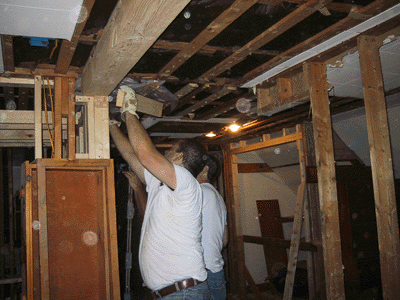 |
And on the other side. We went back and forth until it was seated nicely.. (25 September 2003) |
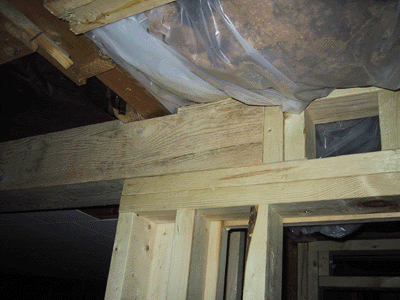 |
Here's a close up of the beam in place on the bathroom wall end. Look at that fit - believe it or not we got the cuts right the first time. (25 September 2003) |
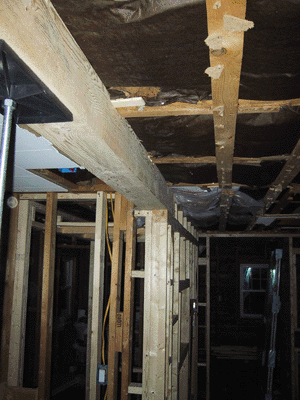 |
And here's the BAB in place. Nice and straight! We'll leave the jack in the middle in place until spring time, in order to "dis-encourage" the beam to sag while it dries.. (25 September 2003) |
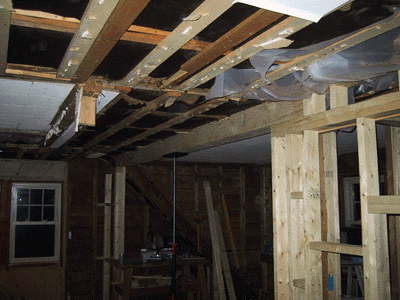 |
And looking back towards the exterior wall. Well thankfully this is one engineering problem that is behind us. (25 September 2003) |
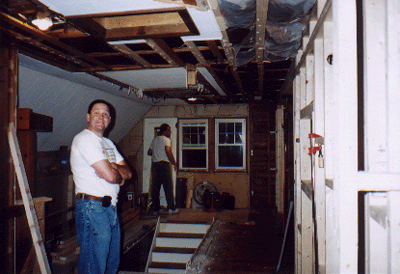 |
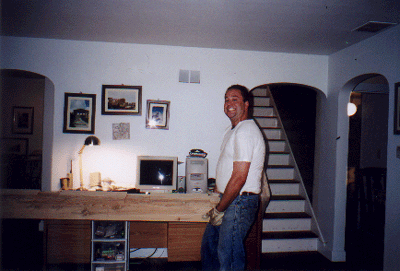
Even Jim seemed pleased with the results. (5 January 2004) |
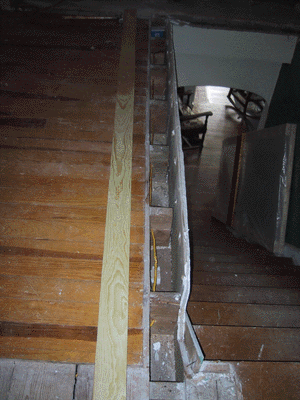 |
Now with the remaining wall around the staircase gone, we were able to rip up the floor and put down new electrical for the three-way switch at the bottom of the stairs. (29 September 2003) |
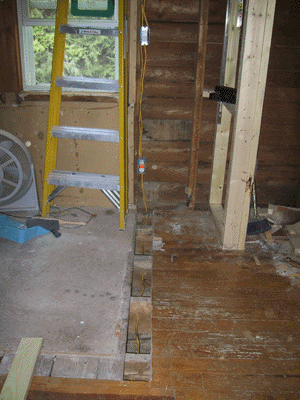 |
And on the other side of the room. After one wrong wire and a slight shock, it worked!. (29 September 2003) |
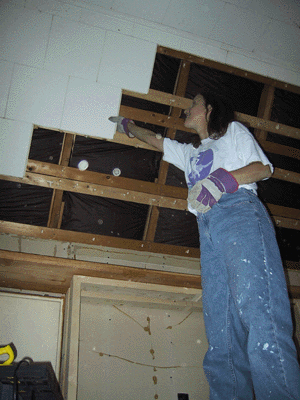 |
Karen spent a fair portion of the weekend removing ceiling tiles. (29 September 2003) |
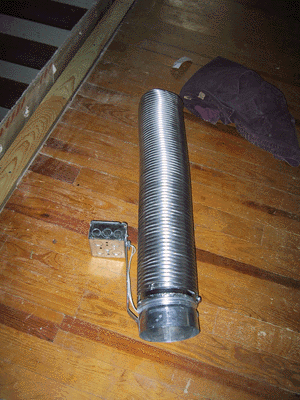 |
This is the light housing for the bathroom fan. The fan itself we mounted in the attic; flexible ducting pulls the moisture outside.. (29 September 2003) |
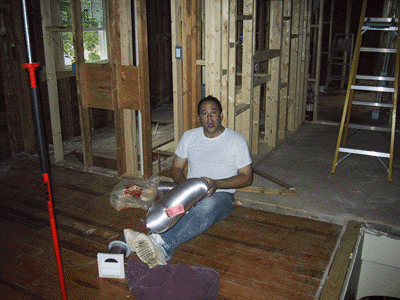 |
Fitting the ductwork to the housing.. (29 September 2003) |
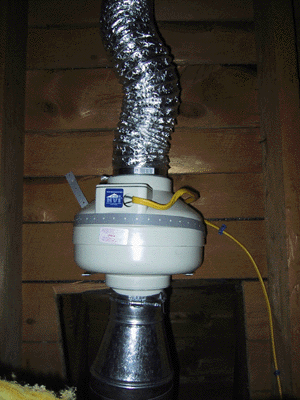 |
The fan itself resides in the attic, and we mounted it in an easy maintenance spot. (2 October 2003) |
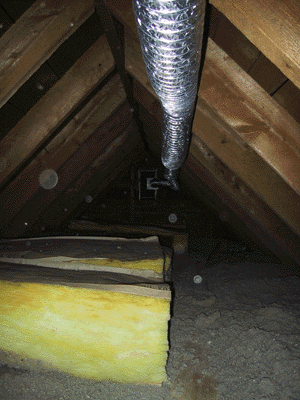 |
We weren't totally keen on cutting a hole in the roof; the inline fan allowed us to run flexible ductwork to the gable vent on the north side of the house. The large pieces of insulation are in place to fill the "holes" we made in the blown insulation; we intend on adding more before winter hits. (2 October 2003) |
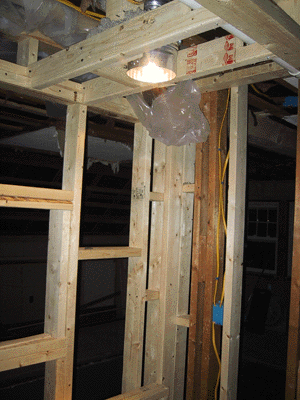 |
The light mounted. It, and the fan, both work great.. (29 September 2003) |
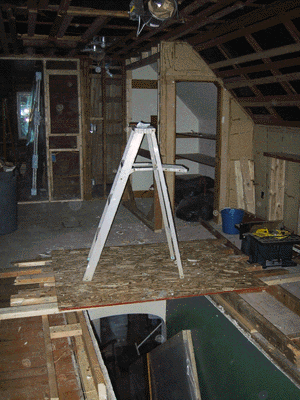 |
We pulled down the rest of the ceiling above the staircase, and threw up this "bridge over the staircase quai" to work on the second recessed light. (1 October 2003) |
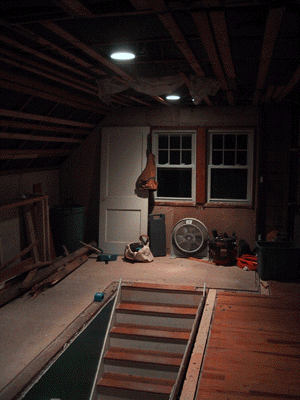 |
Lo and behold, it works! (1 October 2003) |
copyright 2003 garbo.org