Brought to you by Ho' and Garbo TV (HGTV)
Phase III.6 Construction Continued!
Work, work,work! it's starting to come along finally!
Brought to you by Ho' and Garbo TV (HGTV)
Phase III.6 Construction Continued!
Work, work,work! it's starting to come along finally!
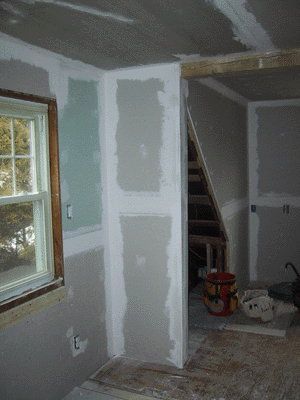 |
We spent the majority of last weekend moving new sheetrock upstairs, and taping everything that we has up. Here's the area at the top of the stairs. (March 22, 2004) |
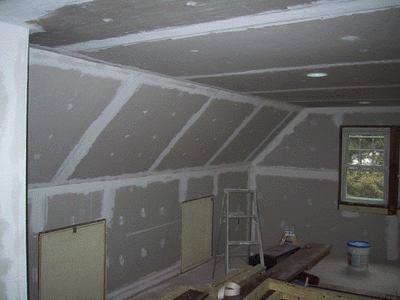 |
And looking back towards that wall. (March 22, 2004) |
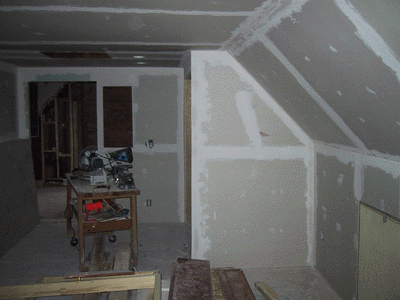 |
Looking back towards the bed room. (March 22, 2004) |
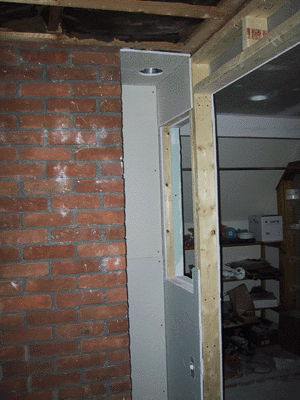 |
And we put up rock behind the leaded glass window. (March 22, 2004) |
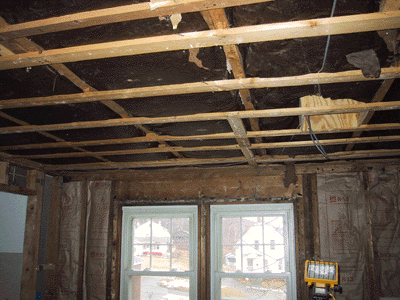 |
In preperation to hanging the bedroom, we finished tearing out the old celing, and put in the speaker boxes. (March 22, 2004) - an additional problem that popped up its ugly head were smoke detectors - we had to run new electric for a pair to be installed upstairs, one in the bedroom, and one in the great room/office area. Hardwired to 120v, and interconnected. |
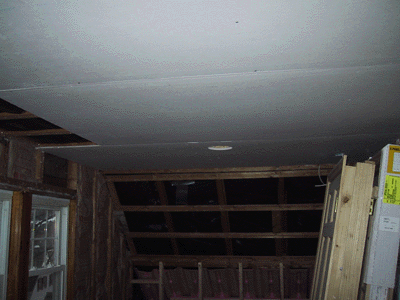 |
Thanks to the big dog Jason, we were able to get the majority of the new ceiling in place. (March 25, 2004) |
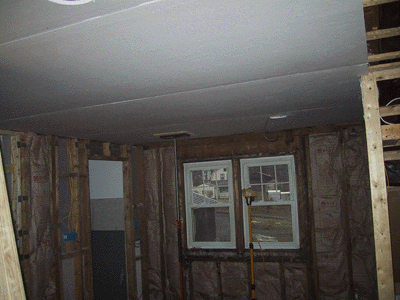 |
(March 25, 2004) |
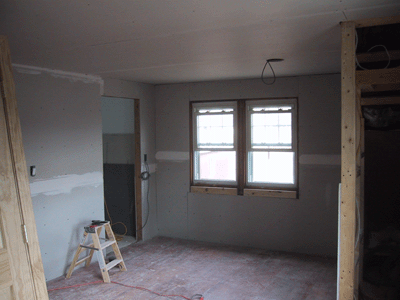 |
We spent Saturday finishing the ceiling, and started on the bedroom walls. (March 28, 2004) |
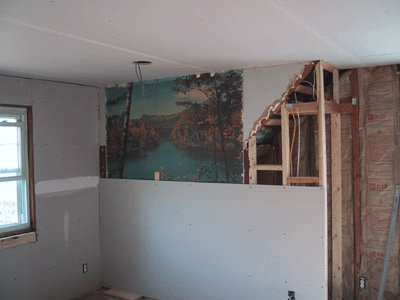 |
Sadly, we covered over the scenery! (March 28, 2004) |
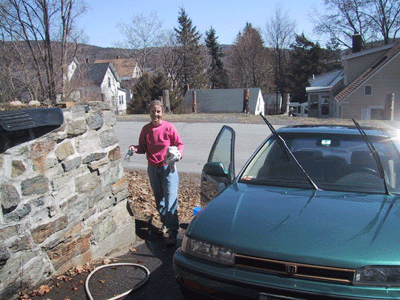 |
And while we were supposed to work upstairs on Sunday, well, the weather was just too nice. Car wash day instead. (March 28, 2004) |
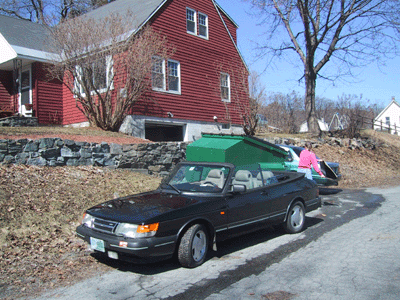 |
First day top down! (March 28, 2004) |
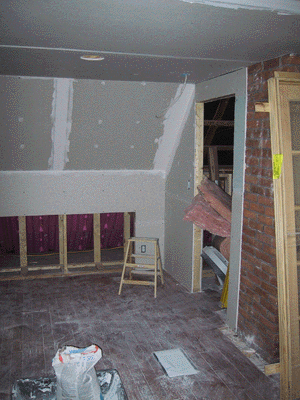 |
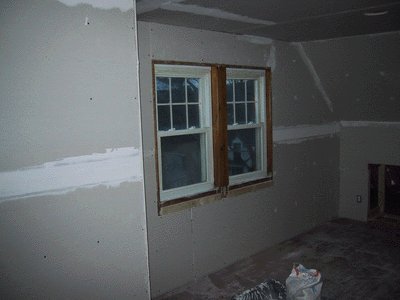
The bedroom is now finished - this means that except for the insides of the closets and the one wall along the bathroom, we're done sheetrocking! (April 6, 2004) |
 |
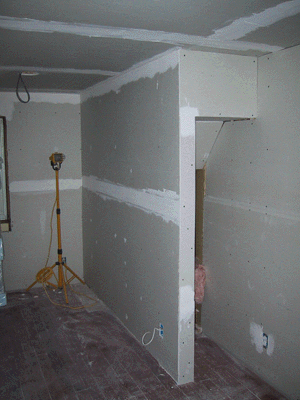
Now the taping....(April 6, 2004) |
 |
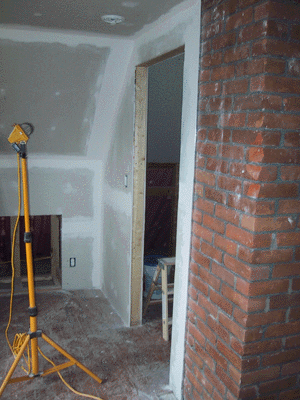
and the sanding. (April 6, 2004) |
 |
We're focusing some effort on getting this closet done first , so we can hang the door and get it out of the way. (April 28, 2004) |
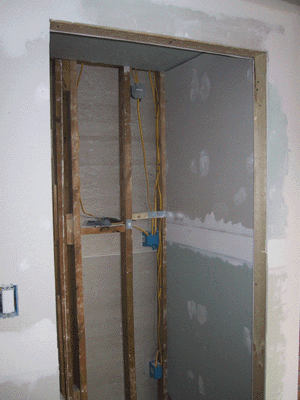 |
Only some of the closet walls will be sheetrocked. (April 28, 2004) |
 |
The other walls we are going to line with cedar tounge and groove. The cedar is only 1/4 inch thick, so we're going to back it with 1/4 plywood, and install it after we paint.. (April 28, 2004) |
 |
The other closet, currently used for tool storage, is almost done as well. (April 28, 2004) |
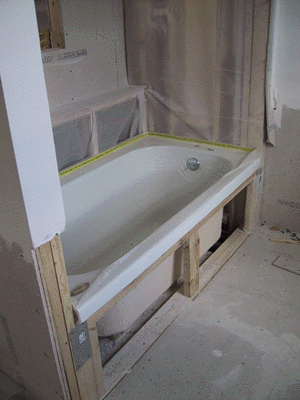 |
We finally set the tub - it's in place, and it even drains. (April 28, 2004) |
 |
Once the tub was installed, we could go back and finish the concrete board installation. We're planning on mounting the controls this weekend. (April 28, 2004) |
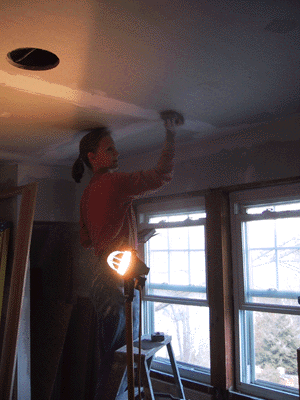 |
And just so no one is confused, here's the person who's really doing the work... (April 28, 2004) |
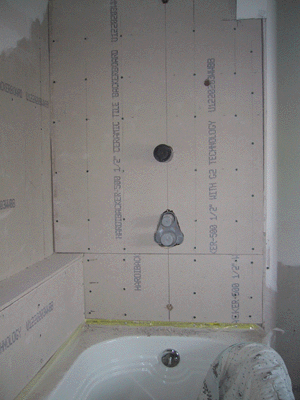 |
The Tub controls are now partially in place - here's a shot from the tub side... (May 3, 2004) |
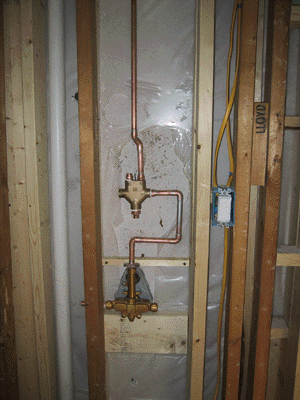 |
And th back side. Note that this is NOT a standard installation. (May 3, 2004) |
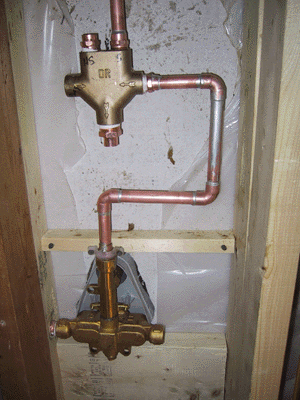 |
Complicated? Oh yeah. There will be a hand wand as well as a shower head and tub filler. The bottom control is the temperature and volume control, and the top is the "output". Now we need to tile the shower stall itself - leading to the resolution of another unsolved problem - the stained glass window. (May 3, 2004) |
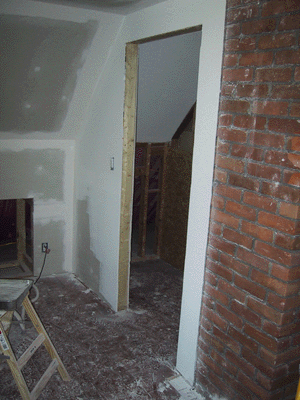 |
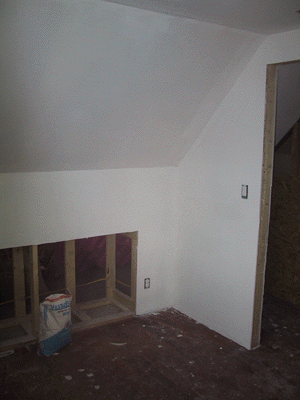
We also primed the closet, in preperation of hanging the door. This is the only door we can hang currently, as the floor will remain, and we'd like to get it out of the way! (May 3, 2004) |
 |
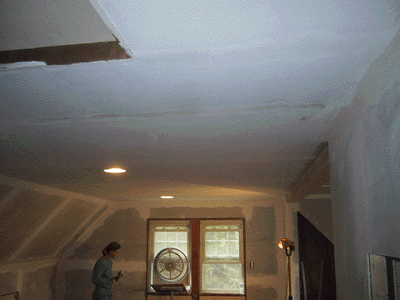
We continued to prime the area around the closet, including the ceiling, and put a second coat in the closet proper. We're ready to hang that door. (May 5, 2004) |
 |
We also primed the ceiling over the staircase, for as soon as its done, we can remove the staging and complete the construction around the opening. (May 5, 2004) |
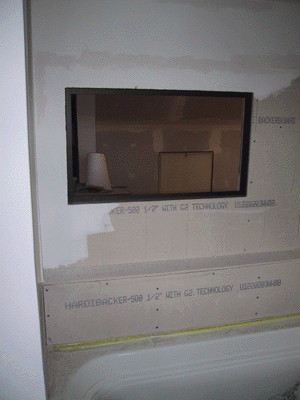 |
We did solve one problem though - how to frame the stained glass window in the shower stall. 1" L-channel aluminum will provide the perfect interior frame; we'll tile right up to this and caulk the window in after.! (May 5, 2004) |
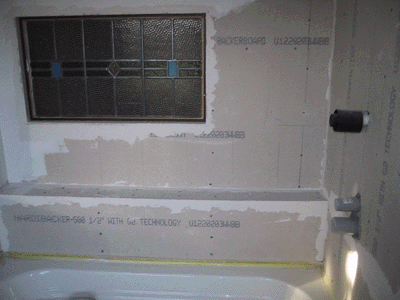 |
Here's the window in place (temporarily), and the concrete board "sealed" with morter. (May 10, 2004) |
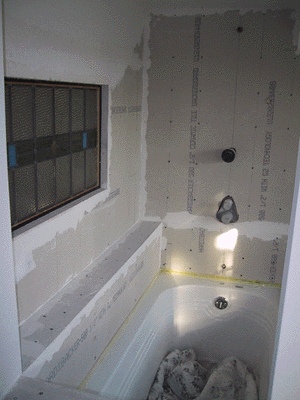 |
And looking back towards the front wall of the shower. (May 10, 2004) |
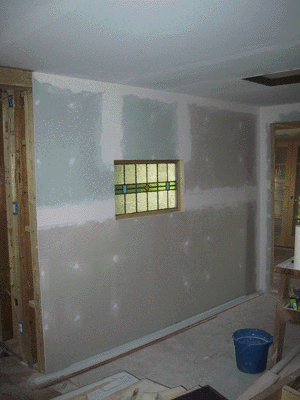 |
This is the outside view of the bathroom wall, with the stained glass window in place. (May 10, 2004) |
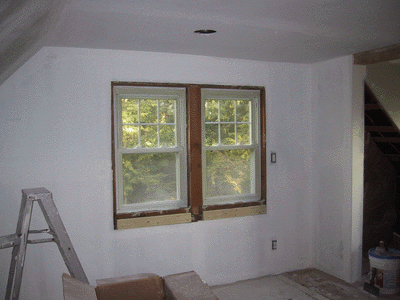 |
Elsewhere, Karen primed the wall at the top of the staircase. (May 10, 2004) |
copyright 2004 garbo.org