We got to the hall pretty early, early enough to register for four full games that day. I chose the first table on a whim, basically because I had met the outrider earlier that day.
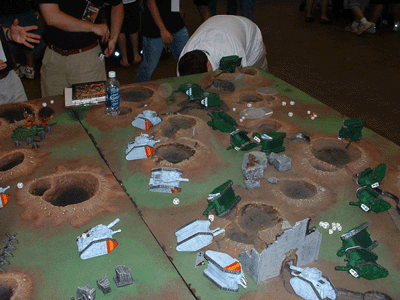
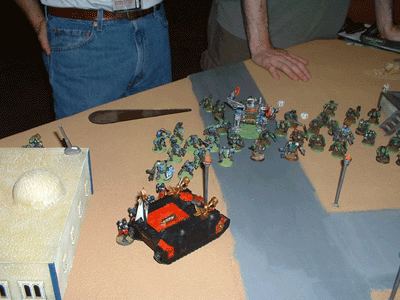
Game 1: table 17, Take and Hold, Black Templar vs Iron Warriors
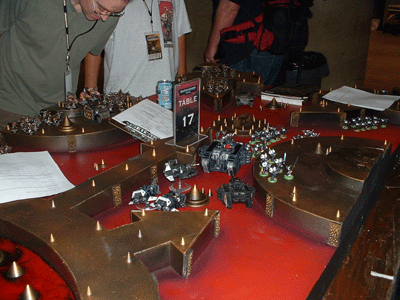 |
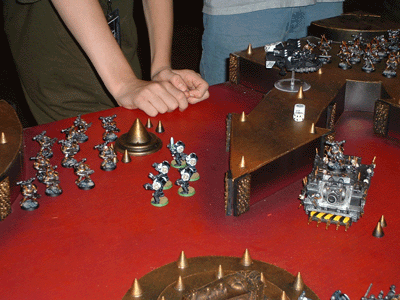
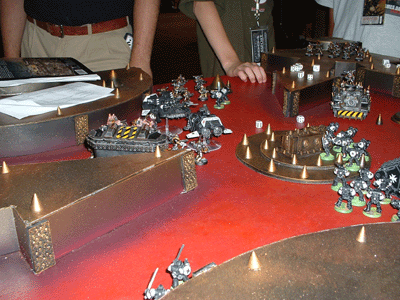
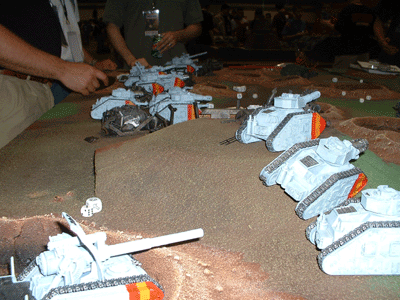
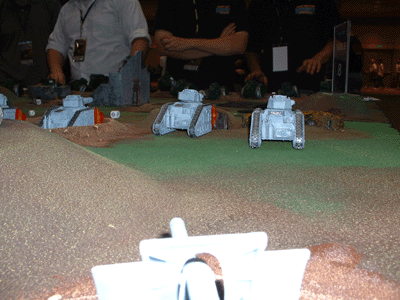
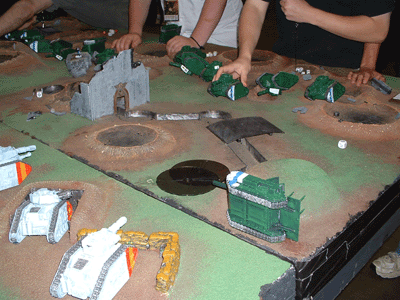
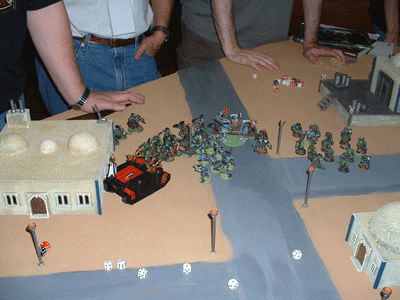
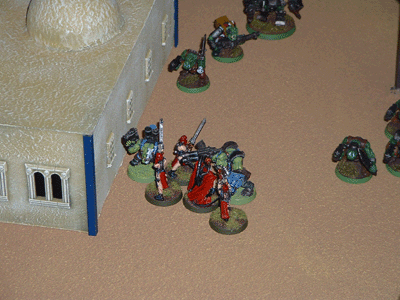
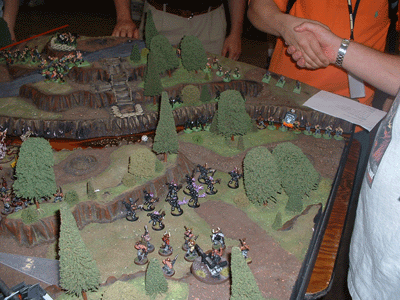
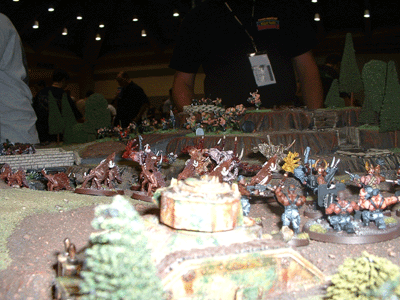
Chaos! We split up, with three of us playing Black Templar deep in the Eye of Terror against Iron Warrior Chaos space marines. |
 |
A pre-battle shot of the troops involved. I ended up commanding the fast attack units, two regular land speeders with heavy bolters, and a land speeder typhoon. |
 |
My speeders immediately moved into flanking positions, and stunned their vindicator from behind. |
 |
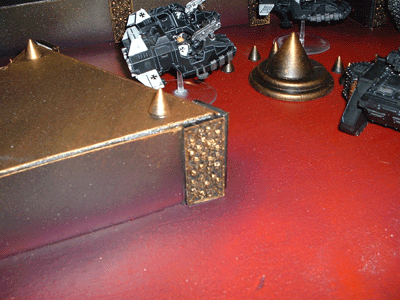
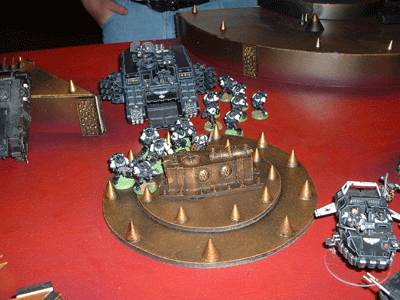
Two full tac squads and a basilisk anchored one end of the Iron Warrior lines. |
 |
The Templar Land Raider took out this fully loaded rhino. |
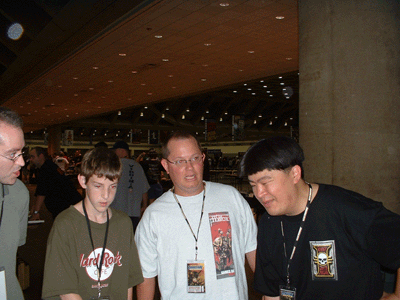 |
John and Jon argue the finer points of heresy with the outrider. |
 |
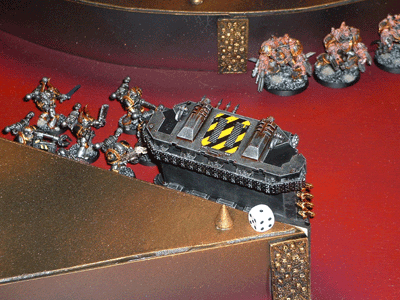
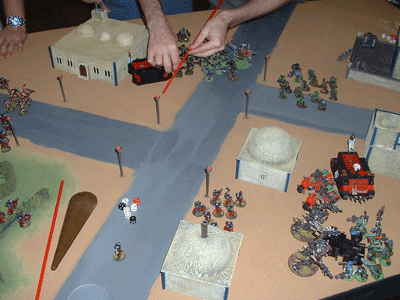
Jon tried a sneaky move with his rhino, immobilizing it in difficult terrain. His troops unloaded, and popped the crusader with two melta guns. |
 |
Iggy deep striked terminators close to another tactical squad of Iron Warriors. |
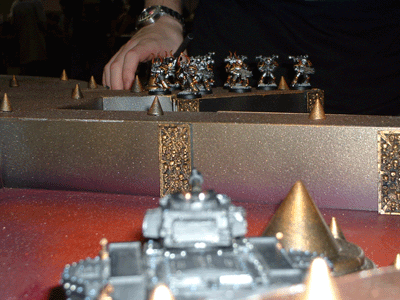 |
And his predator took aim at this other squad. |
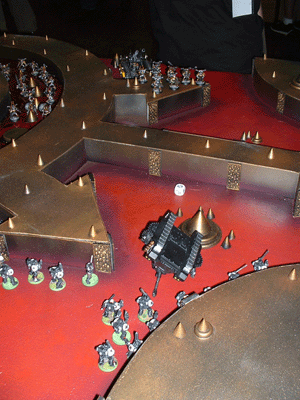 |
The predator took tons in coming las fire in return, destroying the vehicle. |
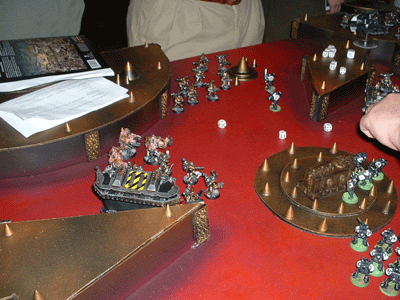 |
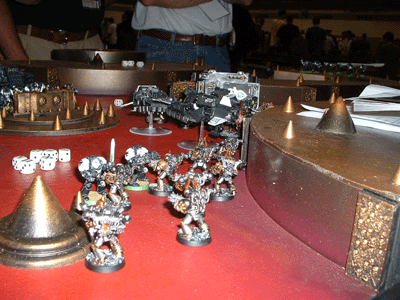
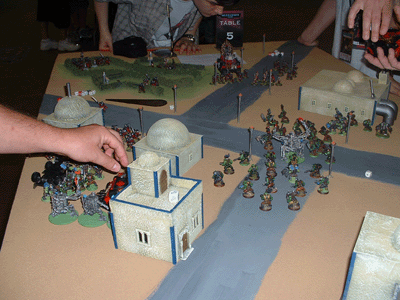
Templar troops moved onto the objective. |
 |
In order to aid our taking the prize, I moved my now weaponless but mobile land speeders into blocking positions. |
 |
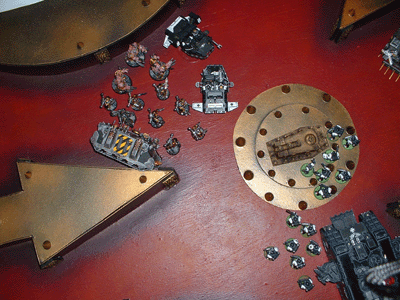
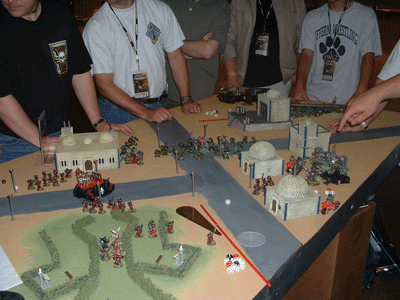
The terminators assaulted another squad, tying them up, and another Iron Warrior tactical squad advanced. |
 |
For now, the objective was in the hands of the Emperor! |
 |
Two terminators display their fierceness in hand to hand. |
 |
In the end, Chaos won, advancing to the objective, and killing enough Templars to reduce them below half. A close victory, but a victory for Chaos! |
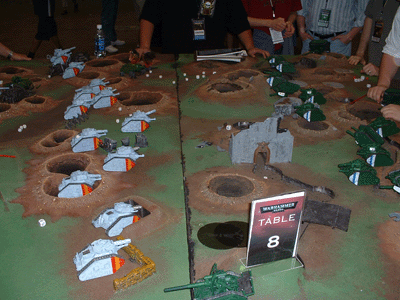
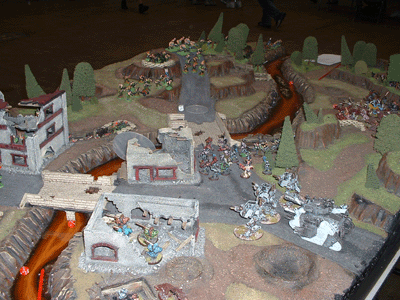
Game 2: table 8, Tank Fest, IG vs IG
 |
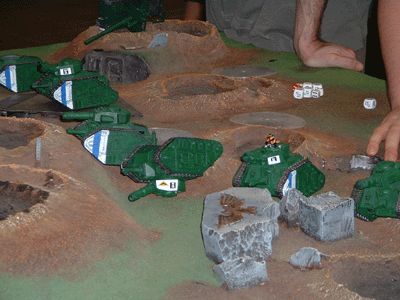
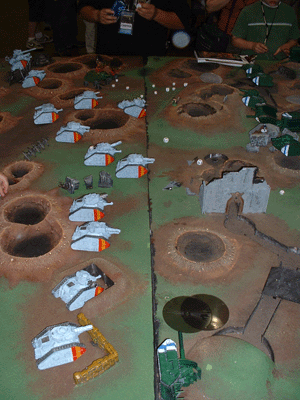
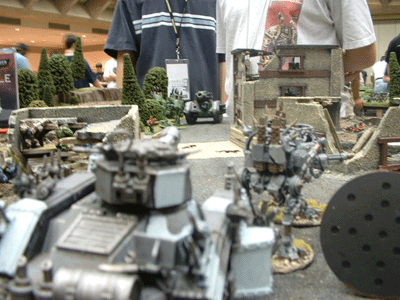
Tank Fest!
Leman Russes, Demolishers, and Basilisks galore! This was a huge 8x8 table.
The point was to have as many tanks on his side of the table as possible
to win. |
 |
The enemy. |
 |
John didn't
want to play pretty blue tanks, so he took the soon-to-be-doomed greenies. |
 |
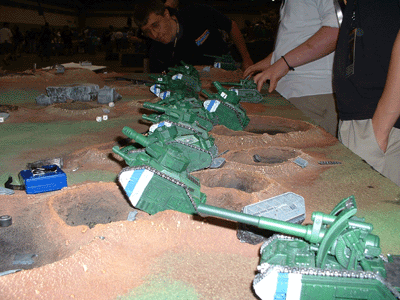
We actually
had a strategy - we got first turn, and focused our artillery on theirs.
At the end of our turn one, we had destroyed one basilisk (John's!) and
ripped the main weapon off of another. |
 |
Our pretty
blue tanks advance under the cover of our fully functional Basilisks |
 |
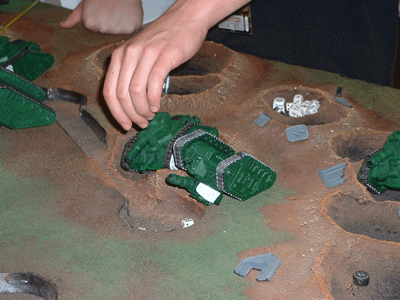
Turn two saw
their remaining basilisk destroyed, and our armor started putting the
hurt down on theirs. |
 |
Boom! another
green tank goes smush. |
 |
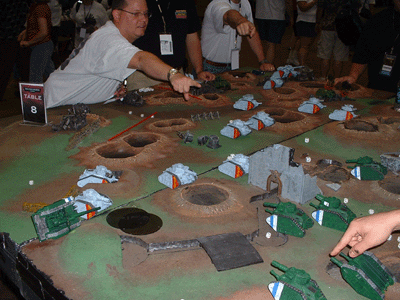
You can see
the steady blue line advancing in nice formation. Their lone, non-shooting
basilisk is about to cross the table... |
 |
only to meet
its final demise from that demolisher in the firing pit. Note the number
of other tanks lie ruined on the green side of the table. |
 |
And how intact
the blues are! |
 |
Still raining
fire down from above, the blues cross the table half. This is turn 4 and
we're still pretty much full strength! |
 |
Karump! More
green russes bit the dust. |
 |
In the end,
it was a slaughter - we only lost two tanks out of our entire force! Pretty
blue does not mean pansee blue! This game fortunately ended a full half
hour before it should have, and we were able to grab some lunch. |
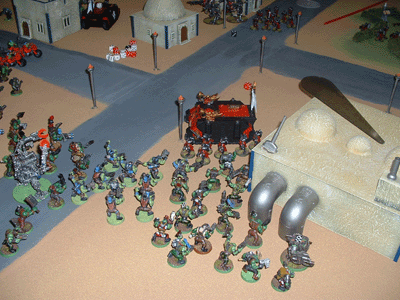
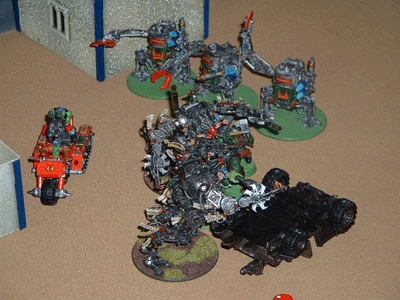
Game 3: table 4, Grab the icons, Orks vs Sisters of Battle.
 |
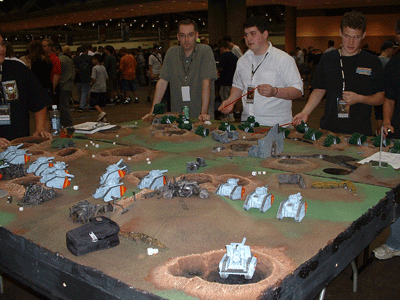
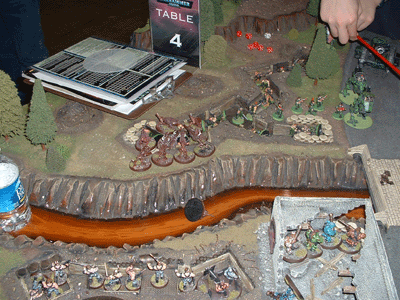
I really wanted
to play Sisters, but the other kids who showed up were already anchored
on that end of the table. So, alas, orks it was! The mission was whoever
held the two icons in the gardens won the game. |
 |
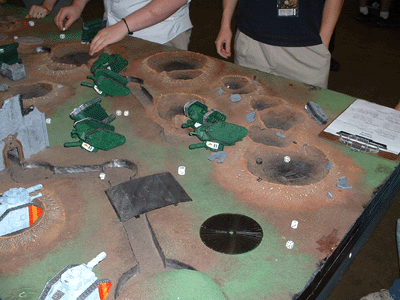
Some of the
cool models on the table were these flagellant driven walkers. |
 |
I ended up
in command of some tankbustaz, two wartrakks, and the warboss and his
retinue. First turn found on of Iggy's squads opened up on the tankbustaz,
wiping out all but the nob who quickly beet feet. As an aside, the ork
forces were stupidly chosen - none of the tank bustaz had rokkits (out
of two full 10 ork mobs), the warboss didnt' even have a powerclaw, and
the nob of the slugga boyz was encased in power armor! |
 |
Being good
orks, we advanced straight up the road. |
 |
|
 |
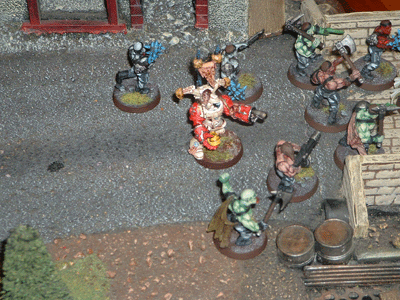
Shooting started
to take its toll as the cleansing flame of the Sisters burned up slugga
boyz by the droves. This is the before. |
 |
And this is
the after. |
 |
On the other
side of the table, the warboss hit and wiped out the sisters squad that
shot up the tankbustaz, and the buggies moved in to add their firepower. |
 |
The second
tankbusta squad goes after the rhino. |
 |
His trukk
destroyed by the flamers of the flagellant walkers, the warboss dismounts
and prepares to charge. |
 |
The orks get
closer! |
 |
The warboss
charges the walkers, but lacking a powerclaw (how stupid is that!) he
is unable to damage the machines (need a six to glance) |
 |
Backed by
the killer kanz, the warboss continues the fight, as the majority of the
orks march down the road. |
 |
These sisters
are not happy. |
 |
"Get dem kanz ofer 'ere now!" The warboss is getting nervous.. In the end he died, and we tied the game. How? Well one sneaky ork player managed to run the only mobile ork trakk all the way up the edge of the table and claim one of the icons. Orkses, you see, can't be beat! |
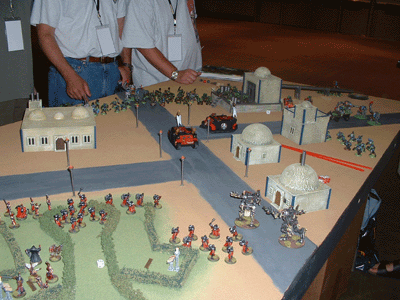
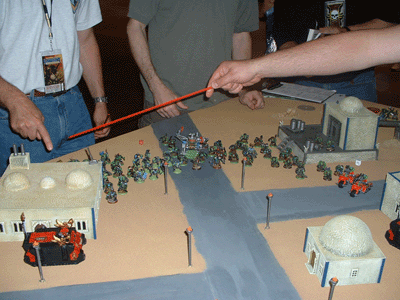
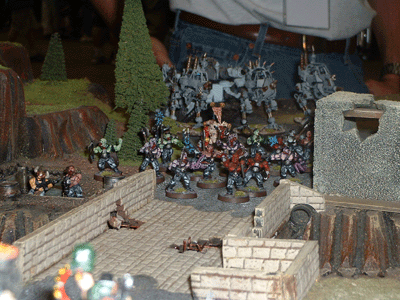
Game 4: table 5, Kill the General, IG vs Chaos.
 |
I had played
on this table last year, and was happy to again! This time I ended up
commanding an IG unit, including a mortar team. It turned out the player
next to me was Deamonone from the WAAAGH - how cool was that? He did a
great job protecting my flank. The point of this battle was to kill general,
and I had the IG one - John Larkin the Chaos! |
 |
John advanced
his troops right across the bridge. My first mortar salvo missed this
squad, but drifted right onto his sentinels, destroying one outright! |
 |
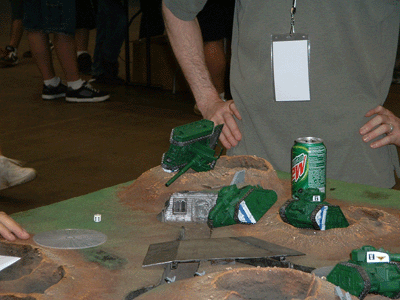
Vinnie put
his big muties in this ruined building for cover. |
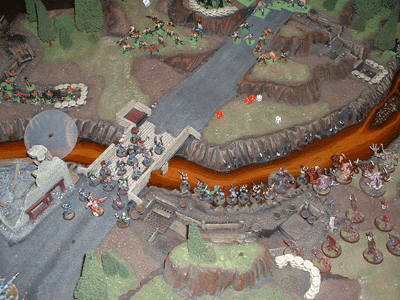 |
Chaos forces
advanced along a broad front against the beleaguered IG. Look at those
troops on the bridge! |
 |
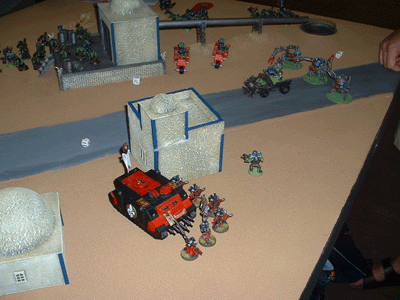
Chaos vehicles
take aim at the lone IG demolisher. |
 |
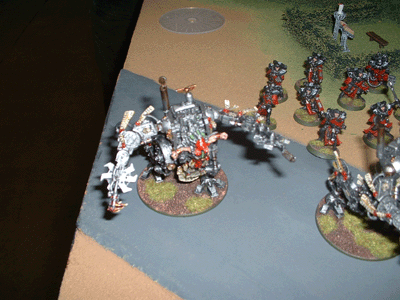
Vinnie's hellhounds
advanced quickly across the river, and assaulted dug in Catchans. |
 |
Meanwhile
Jon Pito and Deamonone duked it out on the other flank. |
 |
Chaos troops
take site on the IG commander |
 |
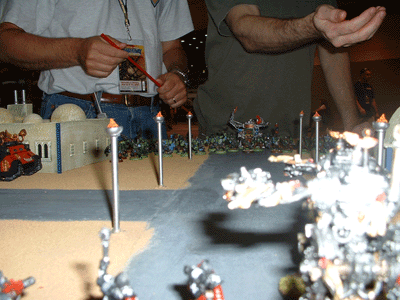
Here the chaos
commander advances under cover of his troops. These troops on the bridge
were ill-fated, however, as three well placed mortar rounds wreaked havoc,
killing 13 in a single salvo. |
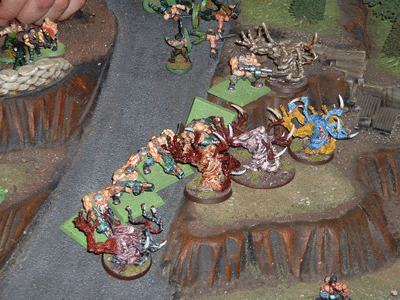 |
The spawn scrambled across the table, but met their match in hand to hand with the Ogryns. Four assault rounds later the combat continued. In the end, it was tie as the IG and Chaos commanders both lived - but numbers wise the IG were crushed. |
Back to Intro - Day 2 (May 23, 2004)