Let me begin by stating very clearly, this is not my original idea. I saw this in an article by Chuck Diljak, in the Feb 2011 Railroad Model Craftsman Magazine.
Mr. Diljak uses sponges to do his brickwork; it looks great and seems the most fool-proof of any method I've seen so far. (it's also a great article set, but I deviate).
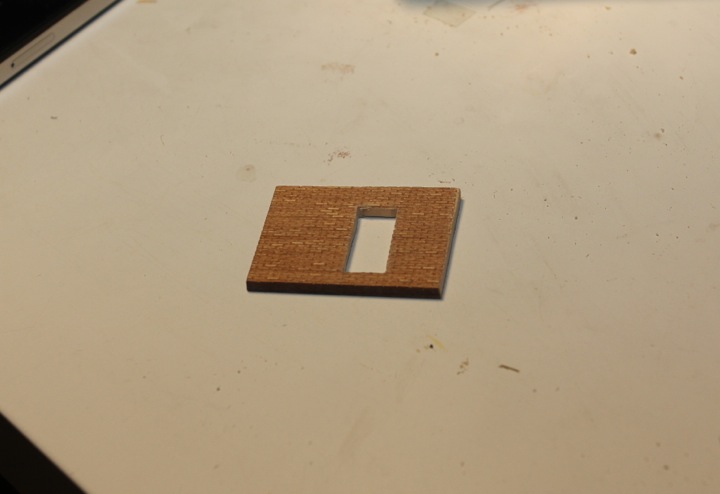
I've adopted his method, and used it on a couple of buildings and materials. The photos below were made using Monster Model Works brick, which I personally feel is the best HO scale brick material out there for appearances.
The painting process involves building the paint from the back to front; first the mortar is painted on, than different colors are applied via an uneven sponge across the surface of the brick. A light hand helps keep the following colors from bleeding into the mortar lines, and results in a nice, natural appearance.
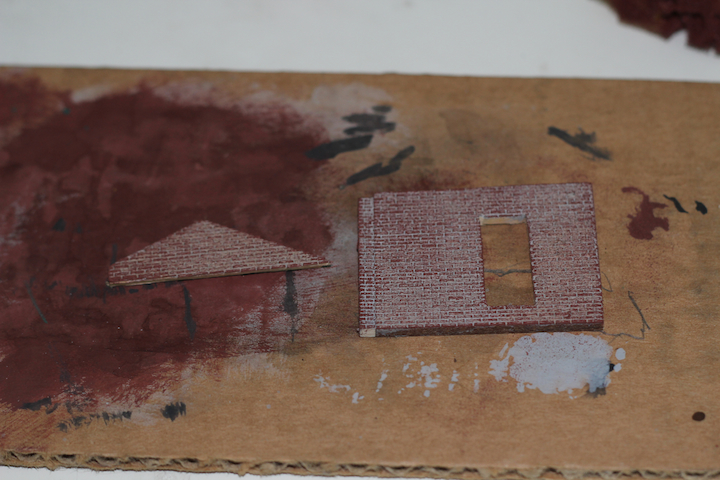
Here is the wall section prior to painting.
The sections than received a coat of Poly Scale gray undercoat.
While that dried, I assembled the necessary tools for the job. In this case, an old cracked plate, paint, paint stirrers, and a small piece of sponge.
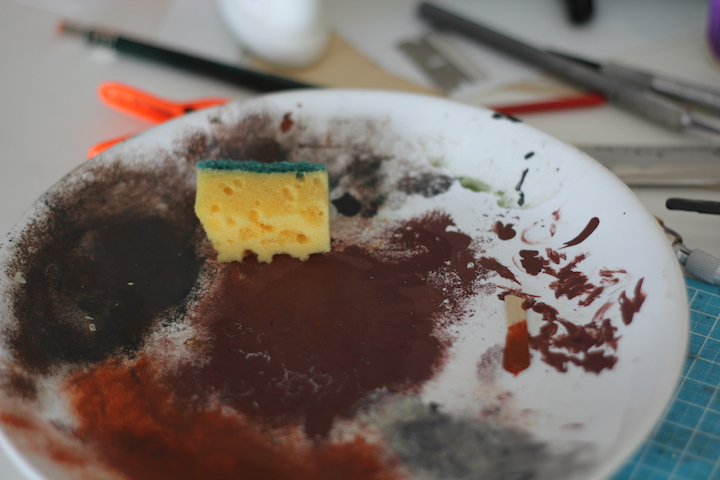
The article recommends using makeup removal sponges; I've been unable to find them locally, so I use a dish sponge cut into smaller pieces. I tear off small sections from the painting surface with my fingers to produce somewhat of a random surface.
I like to put down the primary color, in this case, Poly Scale DRGW freight car red. I use a coffee stirrer to pull some paint out, and put it on the plate.

The paint gets blotted onto the sponge by pressing it into the plate.
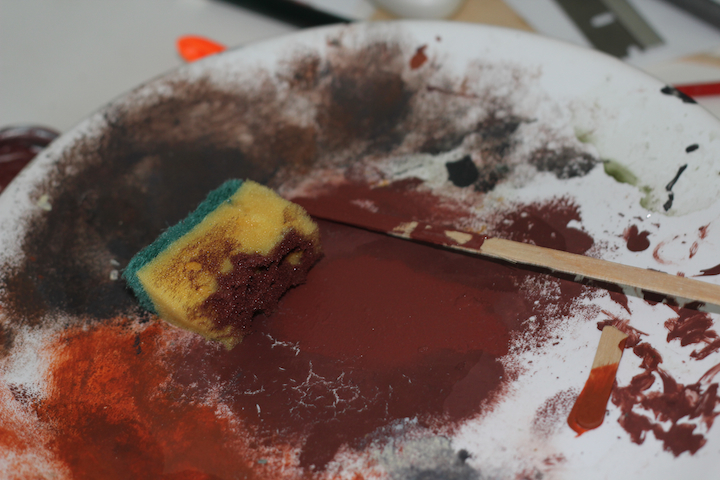
Then the paint is transferred to the brick surface via the sponge. Light pressure on the sponge will build up color, note that it's not an immediate process.
The whole process is repeated again, this time with a different color. You should use colors that represent what you're modeling, in this case, I'm using what I have - which happens to be Citadel Vermin Brown. The same sponge is used, as it helps to blend the colors.
Lastly, one more light coat, this time with Poly Scale Grimy Black.
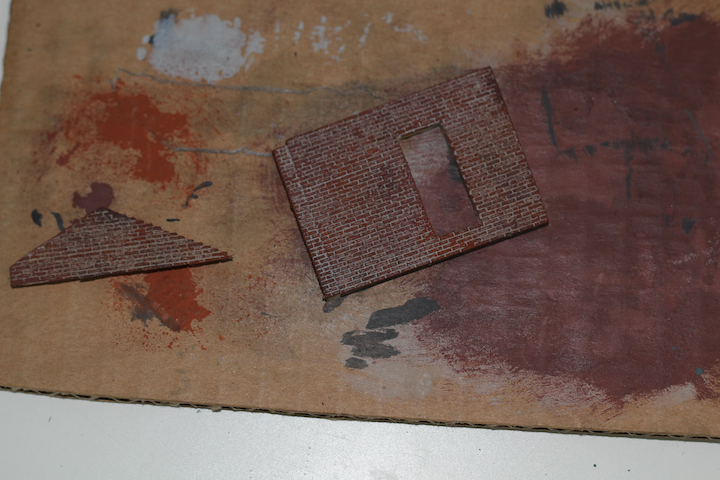
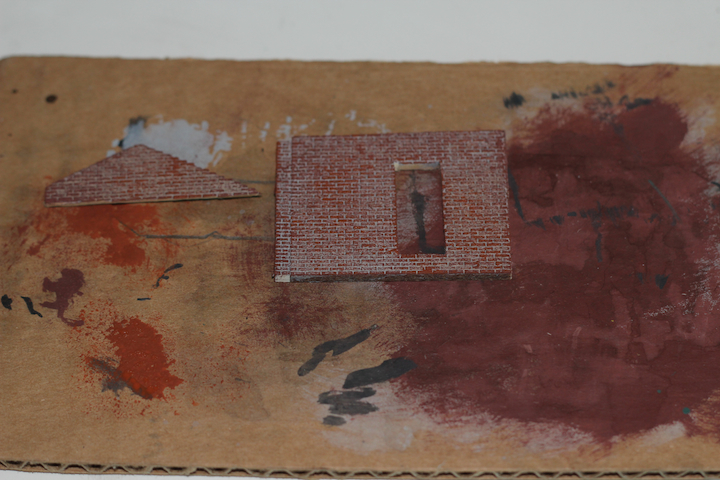
You can see how the colors really build over the three different applications. The surface of the sponge, combined with a light pressure, and the layers of color, make this an easy and effective treatment.
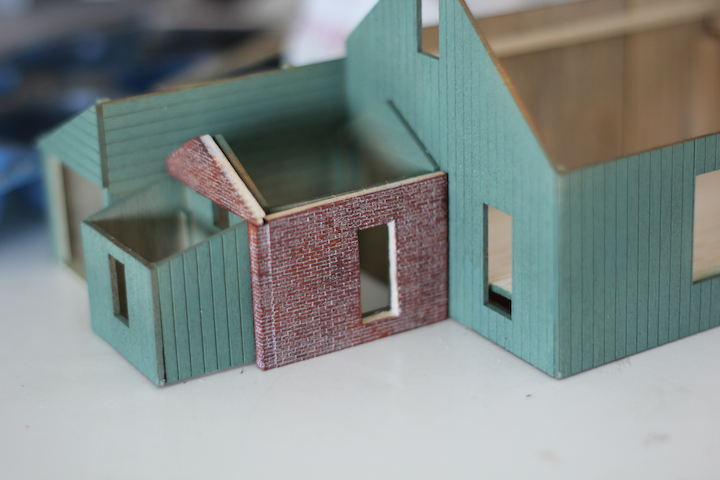
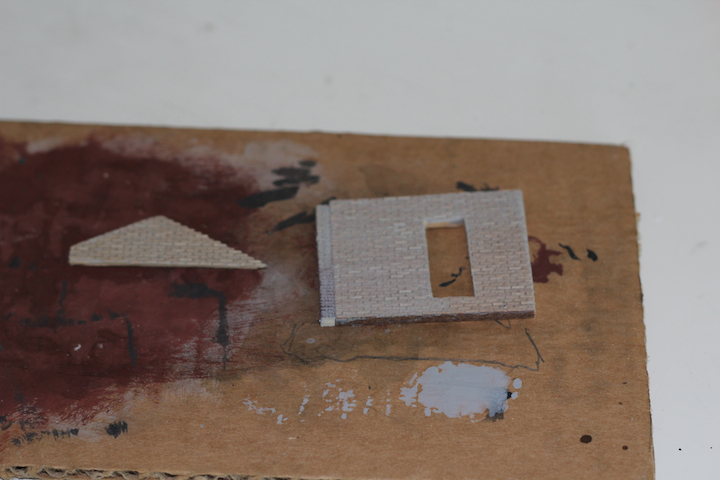
You can have success with other materials than the Monster brick; the foundation on this kit is a thin, self-stick material, but received the same treatment.

I hope this helps folks, if you get a chance, do check out Mr. Diljak's article.