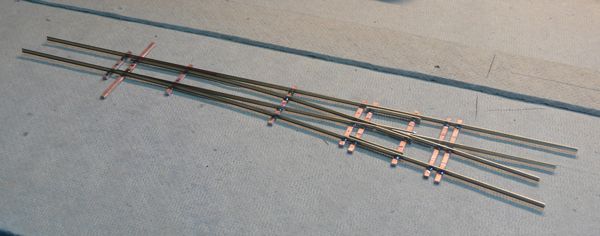
I've seen their name mentioned on the web, but when we went to the Amherst train show, and I was able to see their products first hand, I was sold. Fast Tracks for me!
I won't go into details on how to assemble using their products, as they have excellent instructions on their web site. What I will be posting up here is anything I've found that doesn't fit, or is a bit more unusual.

My first attempt came out pretty good. As I only have very limited experience with soldering, I think this is a strong testament to the quality of their products, and the great instructional vidos they produce.
Here's a quick video of the turnout in action.
I than tested it for electrical contact, and after a half hour of chasing ghosts, I was able to run a DC loco over it with no problems. I had gapped correctly, but there were transient strings of copper on the edges of the PC ties that were shorting it out.
With that under my belt, I dove right into the hoopla. I decided I wanted a crossover, and not just two turnouts laid back to back, but one that had a solid piece of rail from the diverging stock rail to the opposing frog.
3 hours later....

The completed cross over

Here it is with the previous standard turnout for size comparison

I have put it on top of the Fast Tracks quick sticks ties for this turnout to show it's compressed size.

One of the huge advantages of the Fast Tracks system is you can really compress complicated track work. Here is how I've originally planned the entrance to the yard

And here shows how tight you can move the switches, gaining (in this case) a couple of inches on the far end.
So how does it work? See for your self!