Ah yes, hand laying track. Some folks say you're not a model railroader until you hand lay your own track, others say what's the point with modern quality track available.
Me, I've wanted to do this, so therefore I am.
As part of the next stage of my testing before the big layout build, I want to lay a bunch of track by hand to see how much work it entails. First up though, is a small mini-test section.
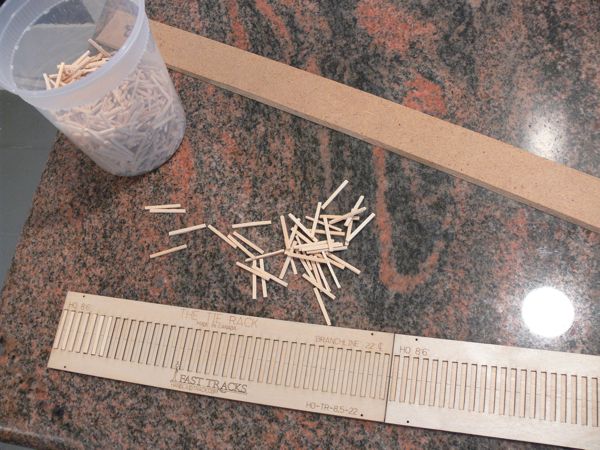
Materials/Tools in this picture
- 3/8" MDF roadbed
- Micro Engineering ties
- Fast Tracks branchline tie jig
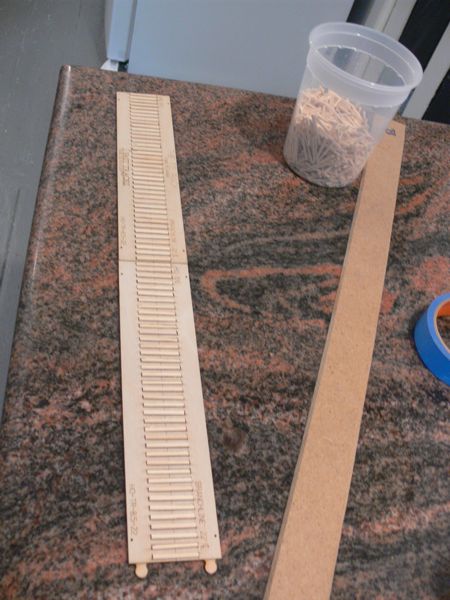
Ties go in the jig.
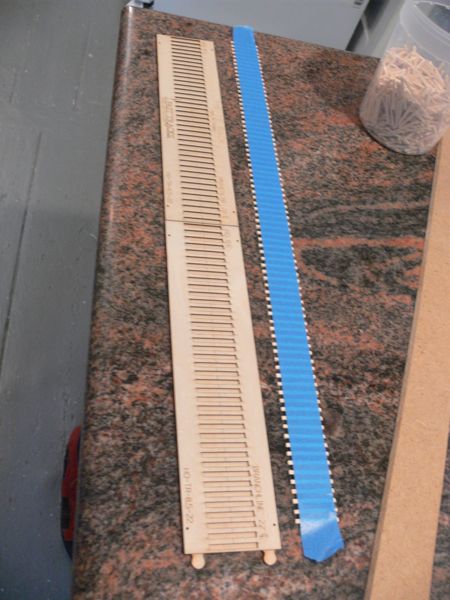
and a piece of painters blue tape is applied, than the whole thing gets pulled carefully out.
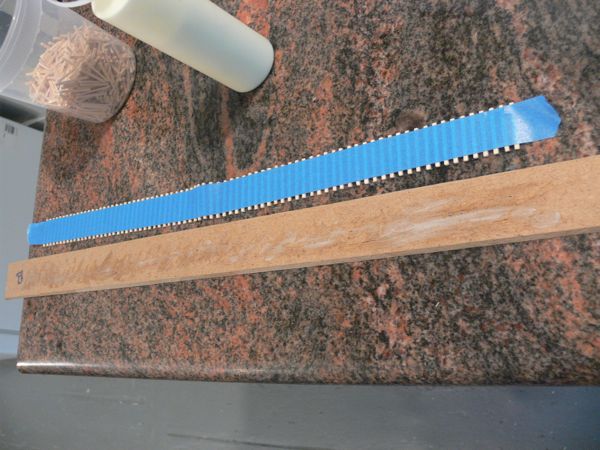
just a little (as you can see) yellow carpenter's glue is applied
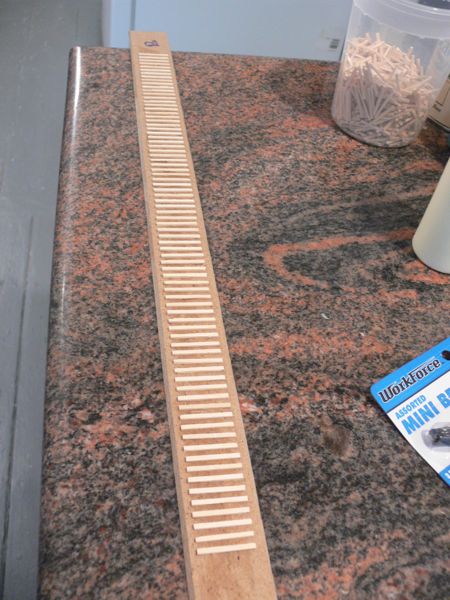
And then the ties go down. After the glue had set for an hour, I carefully pulled the tape off.
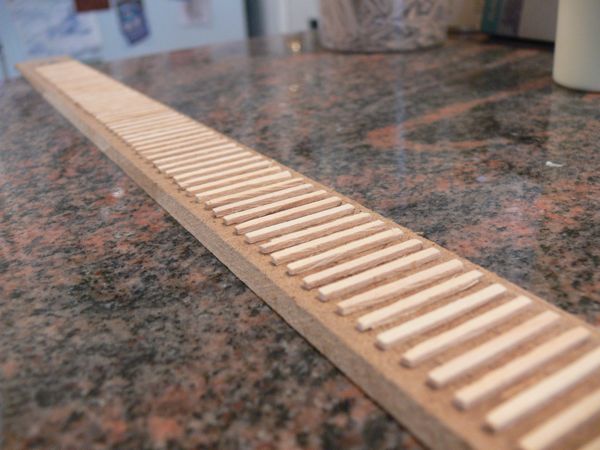
Ok, this is looking pretty good so far.
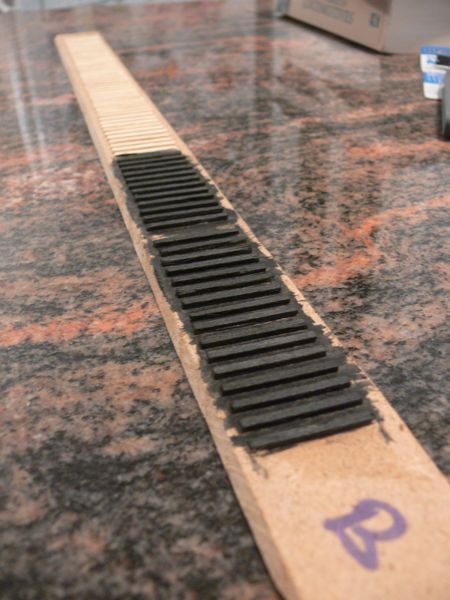
Some people recommend dipping the ties in advance, others say to do so after they are glued down. I thought I would try the latter. This picture shows some of the ties after just one coat of the Minwax stain.
I removed one tie to show myself where the "break" is - the first set I'm leaving untouched, the second set I want to dry brush brown over.
The next set of ties will be stained with a black/brown mix. I want a bunch of sections to determine what looks best.
Materials added:
- Minwax custom shaded water based stain "Onyx"

Now here is a close up of those ties

I tried a heavy dusting of the weathering powders (dark grey) on this set

And a heavy dusting of the light tan on this set. Not much of a difference, or at least not enough to make me think this is headed in the right direction.

I went ahead and ballasted this section, and than tried to lay rail. It (the MDF roadbed) is a complete failure.
Not only did the spikes not take, they split the ties and wouldn't go into the MDF, but as you can see the water and glue mixture for the ballast warped the MDF.
So that rules out the MDF - I wanted a stable base I could spike into, this is clearly not it.
I am pleased with the ballast mix.
Items added - Ballast mixture
- 3 parts Woodland Scenics medium gray
- 1 part Woodland Scenics fine gray
- 1 part Woodland Scenics medium light gray

I tried a stain made of craft paint, water, and the black stain on this section

and another mix of roof brown, alcohol, and the black stain.
Others are reporting using leather dyes and alcohol; I need to explore that for the next batch.
As I noted in the the roadbed section, as the MDF was a failure, I've moved on to a homasote roadbed composite.

A cross section of the new composite homasote over foam.

and with the ties glued in place.

Back to the drawing board on colors. I decided to start with a new direction, this time using Minwax water based stain named Rosewood.

And once that dried for about an hour, I hit them with some of the Black Minwax stain, rubbing off the excess with a paper towel.


The ballast mixture from before.


And once dry, I tried my hand a laying a short piece of rail. First the one side with a piece of pre-weathered Micro Engineering code 83.

And than the other. I'm liking the way this is looking.

Being happy, I went ahead and marked out some turnouts, and started running ties in between.

For folks that are interested, I'm using the Fast Tracks tie jigs - the top is the mainline, the bottom is siding.